- Test pressure with a gauge (40–60 PSI is normal)
- Fully open the main shut-off valve
- Clean the outdoor spigot/hose bib
- Use the right hose size and length
- Check for hidden leaks
- Inspect the pressure-reducing valve
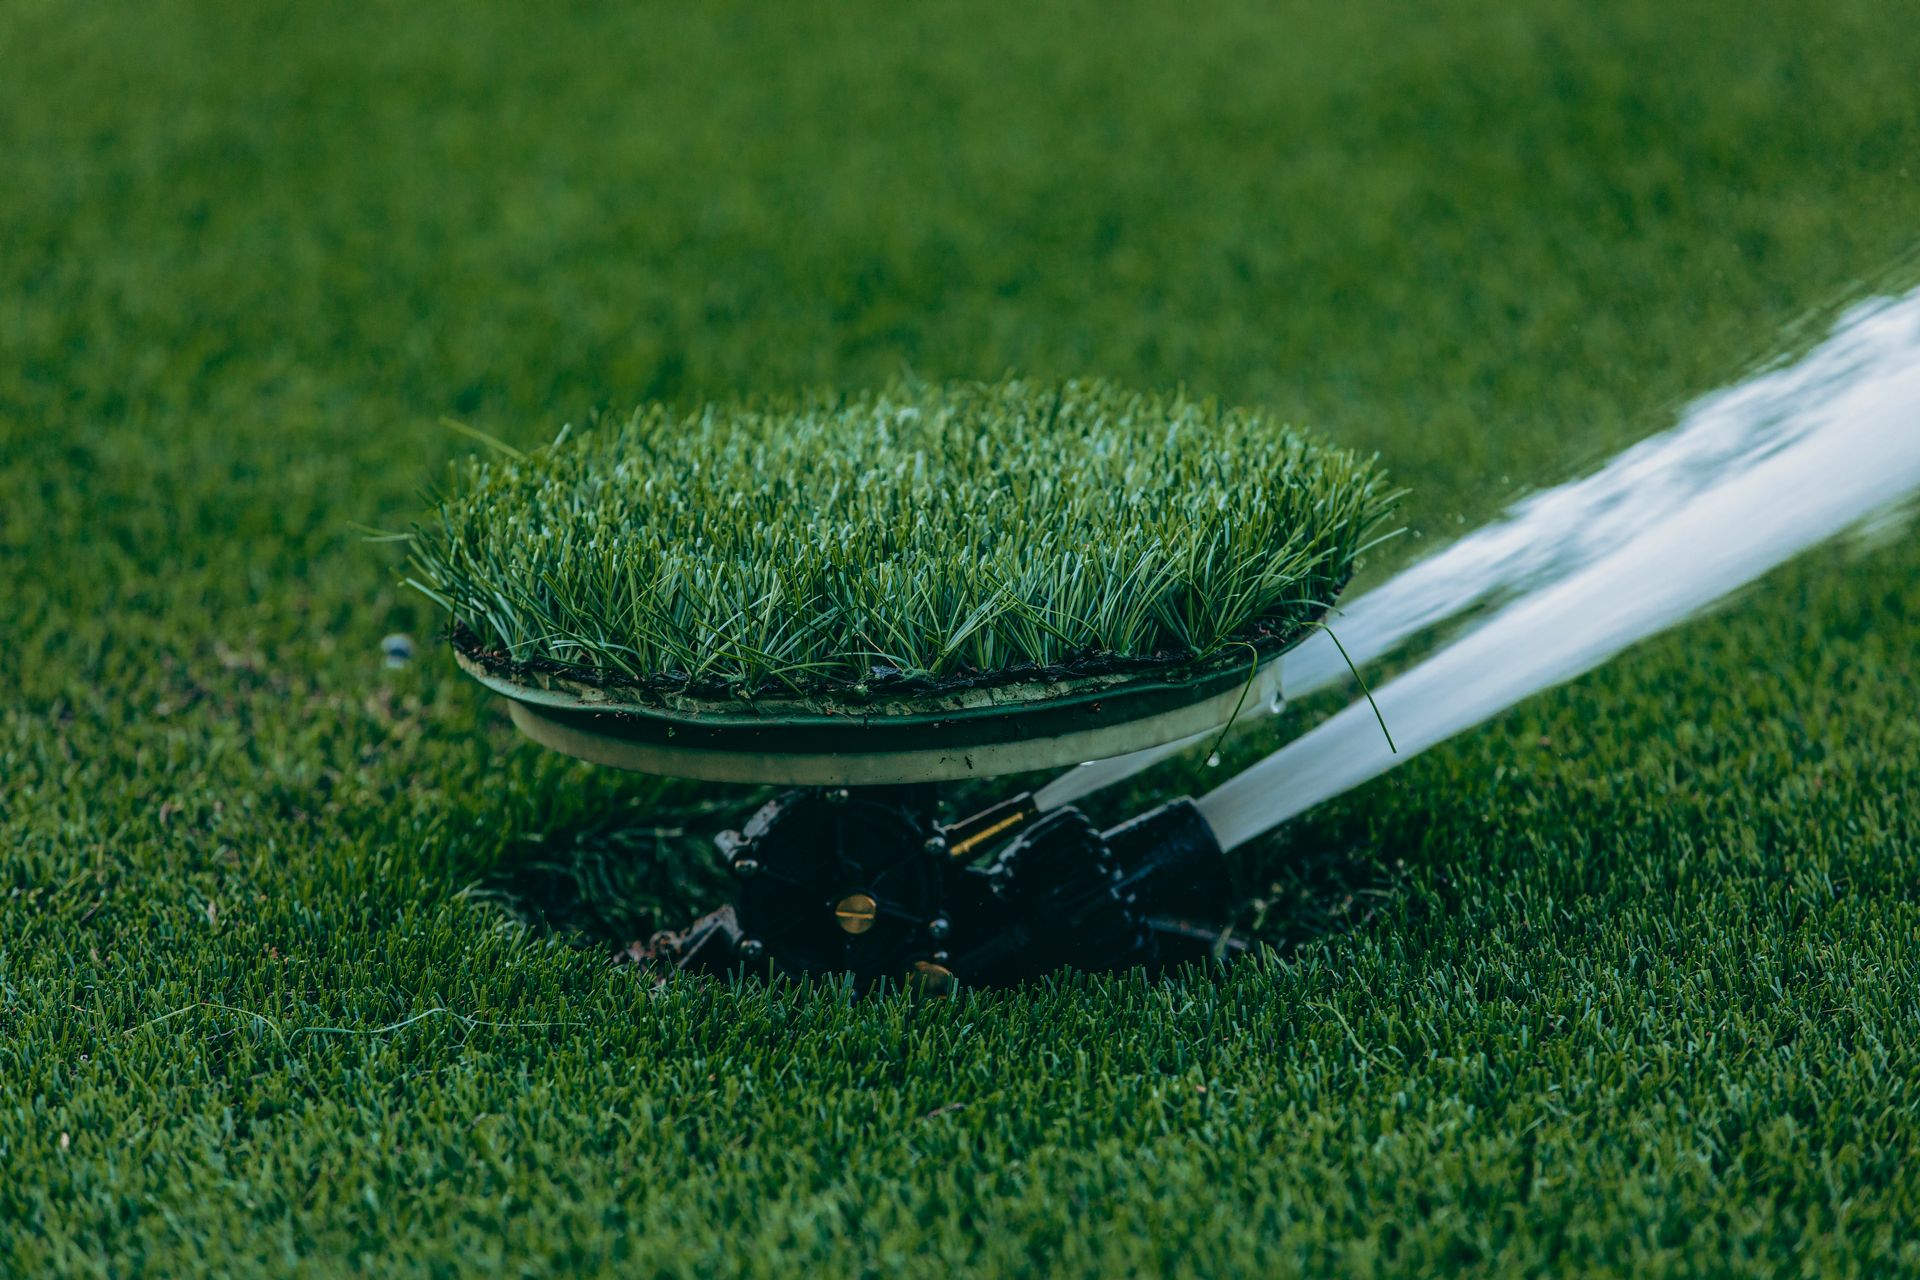
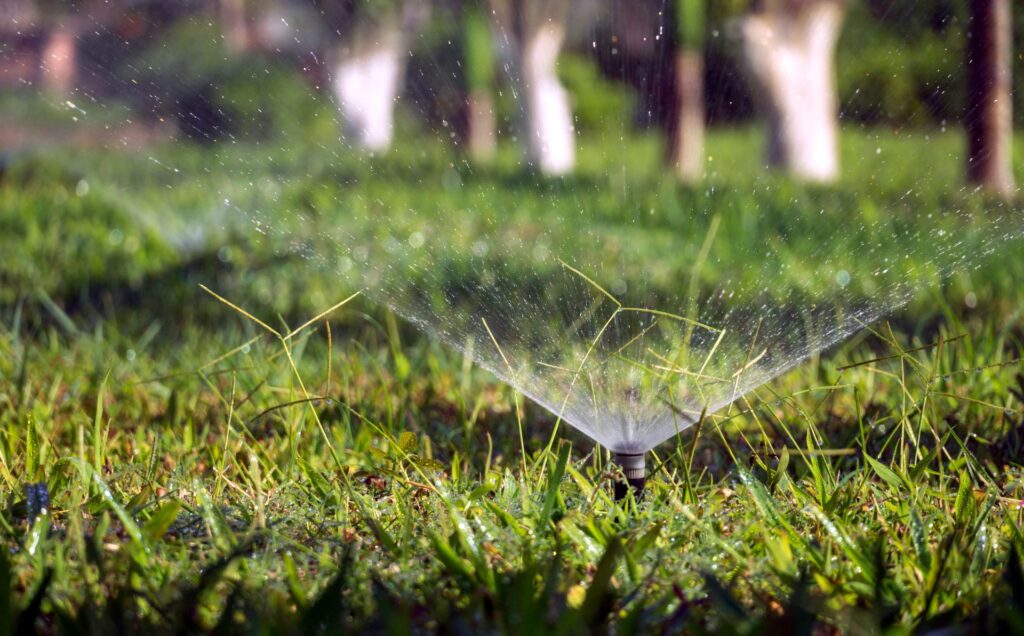
- Fix sprinkler/irrigation issues
- Consider seasonal causes (summer demand, winter freeze)
- Measure flow rate (GPM) to confirm improvement
- Call a pro for leaks or PRV repairs
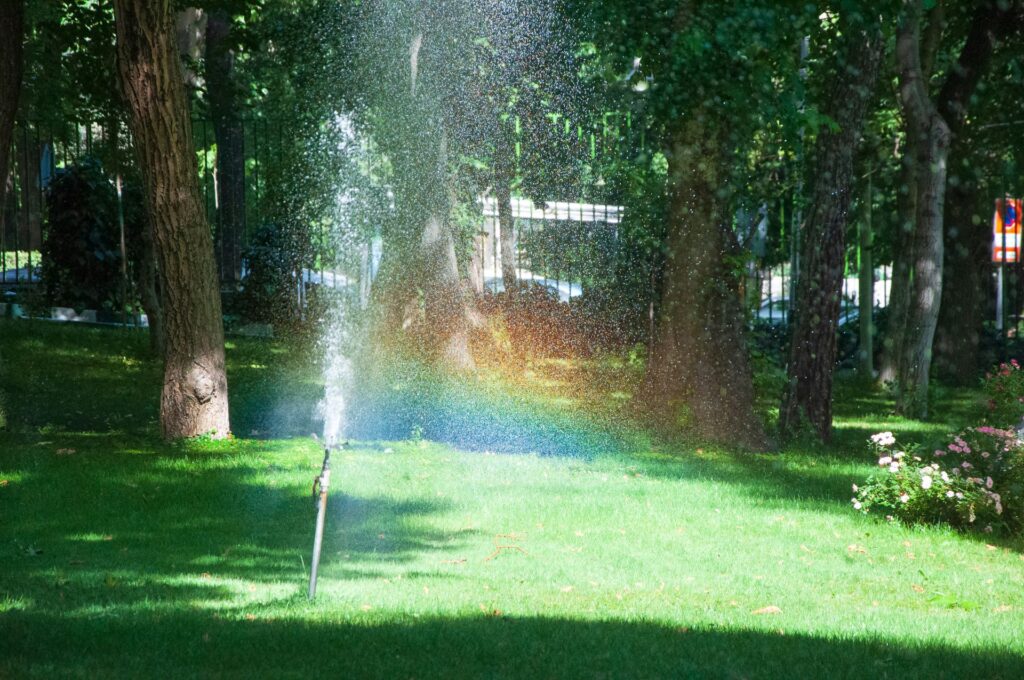
Anyone who has stood in their yard holding a hose that barely dribbles knows the frustration. Plants wilt, sprinklers sputter, and watering the garden suddenly turns into a chore that takes twice as long as it should. The good news is that low water pressure outside the house is almost always fixable, and most homeowners can solve it without calling a plumber for every little issue.
This guide walks through the real reasons yard water pressure drops, how to test it properly, and the practical fixes that actually work. Everything here comes from hands-on experience dealing with outdoor plumbing, hose setups, and irrigation systems, so the advice is grounded in what actually happens in real yards, not just textbook theory.
Why Water Pressure Drops in the Yard
Before jumping into fixes, it helps to understand why this happens in the first place. Low pressure outdoors is usually caused by one or more of these issues:
Old or corroded pipes – Galvanized steel pipes, common in homes built before the 1960s, rust from the inside out. Over time, the rust builds up and narrows the pipe, restricting flow.
Leaks somewhere in the line – A hidden leak between the main water line and the outdoor faucet can quietly steal pressure before it ever reaches the yard.
A partially closed main shut-off valve – This sounds too simple to be true, but it’s one of the most common culprits. Sometimes a valve gets bumped or only partially reopened after maintenance work.
Too many fixtures running at once – If someone is running the dishwasher, taking a shower, and watering the lawn at the same time, the water supply gets divided three ways, and the yard usually loses.
A clogged hose bib or spigot – Mineral deposits, debris, or even small bits of plastic from old hose washers can build up inside the spigot itself.
Hose size and length problems – This one surprises a lot of people. Even with perfectly good house pressure, using a hose that’s too long or too narrow can create a noticeable drop in flow by the time water reaches the sprinkler or nozzle.
Municipal supply issues – Sometimes the problem isn’t the house at all. Water companies occasionally reduce pressure during peak demand hours, especially in summer when everyone is watering their lawns at once.
Understanding which of these applies to a specific situation is the first step toward fixing it, and that starts with testing.
How to Test Water Pressure in the Yard
Testing pressure takes about five minutes and requires nothing more than a simple pressure gauge, which can be bought for under $15 at most hardware stores.
Here’s how to do it properly:
- Screw the gauge directly onto the outdoor spigot.
- Turn the faucet on fully.
- Read the PSI (pounds per square inch) number on the gauge.
A healthy residential water pressure typically falls between 40 and 60 PSI. Anything below 40 PSI will usually feel weak, especially when running sprinklers or longer hoses. Anything above 80 PSI is actually too high and can damage pipes and appliances over time, so this isn’t just about getting more pressure, it’s about getting the right pressure.
It’s worth testing at a few different times of day too. If pressure is fine in the morning but drops in the evening, that points toward either neighborhood demand or internal household usage rather than a plumbing issue specific to the yard.
Check the Main Shut-Off Valve First
This is the easiest fix and the one most people overlook. The main shut-off valve is usually located near where the water line enters the house, often in a basement, crawl space, or near the water meter.
If this valve isn’t fully open, it restricts flow to the entire house, including outdoor faucets. Over the years, these valves can get bumped during other repairs, or someone might close them partway and forget to reopen them fully.
To check it, simply locate the valve and make sure it’s turned completely to the open position. If it’s a gate valve (the kind with a round wheel handle), turn it counter-clockwise until it stops. If it’s a ball valve (a lever handle), the lever should be parallel with the pipe, not perpendicular.
It sounds almost too simple, but this single check has solved low pressure complaints more often than people expect.
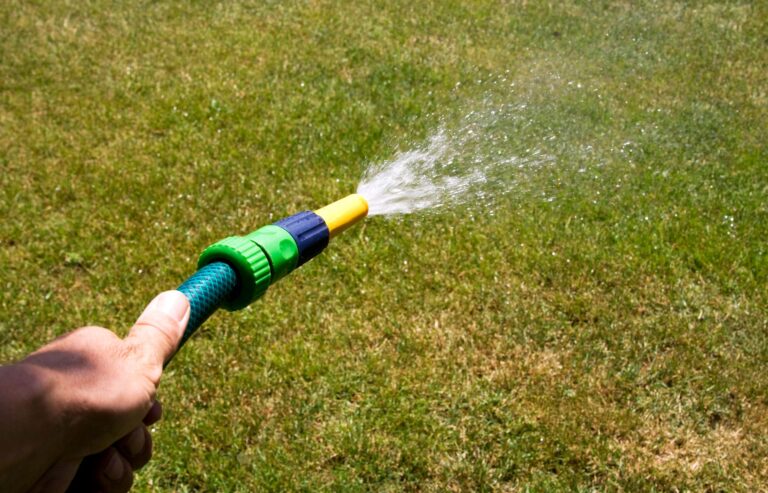
Inspect the Hose Bib and Outdoor Spigot
The hose bib, also called the spigot or outdoor faucet, is often the closest culprit to the actual problem. Over time, mineral deposits from hard water build up inside the valve and the small mesh screen (if there is one) right where the hose connects.
Here’s a simple way to check and clean it:
- Disconnect any hose from the spigot.
- Turn the water on and check the flow with nothing attached. If it sprays out strong without a hose but weak with one connected, the problem is likely in the hose itself, not the spigot.
- If flow is weak even without a hose attached, the spigot itself may need cleaning or replacement.
- Look for a small screen filter just inside the connection point. Unscrew it carefully using needle-nose pliers, clean off any sediment with an old toothbrush, and rinse before reinstalling.
Outdoor spigots are relatively inexpensive to replace, usually costing between $10 and $30 for a basic model, plus a bit of time with a wrench if comfortable doing basic plumbing work.
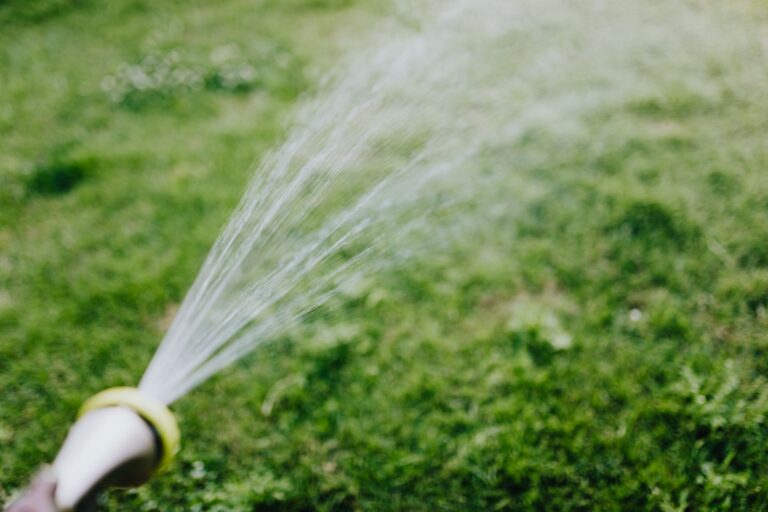
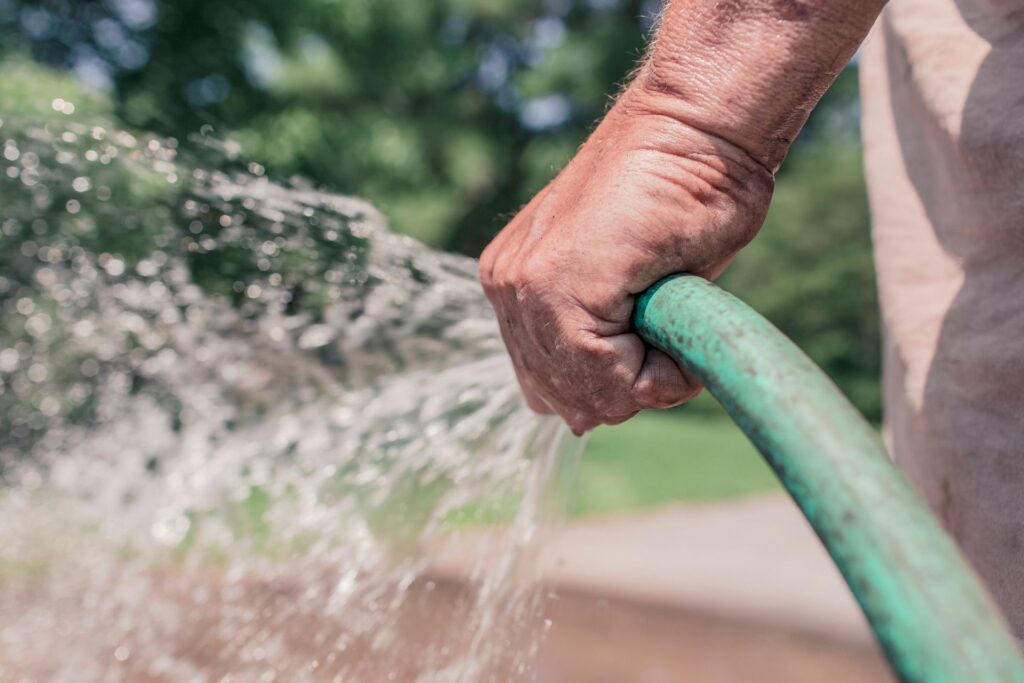
The Hose Itself Might Be the Problem

This is one of those things that doesn’t get talked about enough, but it makes a real difference. A hose that’s too long, too narrow, or kinked can dramatically reduce the water pressure reaching the other end, even if the house itself has perfectly normal pressure.
Think of it like a straw. A short, wide straw lets liquid flow easily. A long, thin, twisty straw makes it much harder, even if the same amount of suction is applied.
A few things to keep in mind:
- Standard garden hoses come in diameters of 5/8 inch and 3/4 inch. The wider hose allows significantly more water through per minute.
- Length matters too. A 100-foot hose will always deliver less pressure at the nozzle than a 25-foot hose connected to the same spigot, simply because of friction loss along the way.
- Kinks and bends act like a partially closed valve, choking off flow at that exact point.
For anyone trying to figure out what counts as a good flow rate for their setup, it helps to understand what is generally considered a good flow rate for a garden hose, since this gives a baseline to compare against when testing equipment.
If someone is using a long hose for a large yard, it’s worth checking that the diameter is wide enough to handle the distance without losing too much pressure along the way.
Look for Leaks Between the Main Line and the Yard
A leak anywhere along the water line between the meter and the outdoor faucet can quietly drain pressure without being obvious. These leaks are sneaky because they don’t always show up as a puddle right away, especially if they’re underground.
Signs of a hidden leak include:
- An unusually high water bill compared to previous months
- Soggy or unusually green patches of grass in the yard, even during dry weather
- A hissing sound near the water meter when all fixtures inside are turned off
- The water meter dial still spinning when nothing in the house is using water
To check the meter test, turn off every faucet, appliance, and irrigation system in the house. Then check the water meter. If the dial is still moving, there’s a leak somewhere in the system.
Finding the exact location of an underground leak usually requires professional equipment, but knowing that one exists is the first step. At that point, it’s worth calling a licensed plumber, since digging up pipes without confirming the source first can lead to unnecessary repairs.
Pressure Regulators and Reducing Valves
Some homes have a pressure-reducing valve (PRV) installed near the main water line, usually close to where it enters the house. These devices are designed to bring down high municipal water pressure to a safer level for household plumbing.
The problem is that PRVs can fail over time, sometimes getting stuck in a position that restricts flow more than intended. If a home has one of these valves and the pressure issue started suddenly, especially after years of normal pressure, a failing PRV is a strong possibility.
Testing this usually involves comparing the pressure before and after the valve using a gauge, which can show a big drop if the valve is malfunctioning. Replacing a PRV typically costs between $150 and $350 including labor, depending on the location and accessibility.
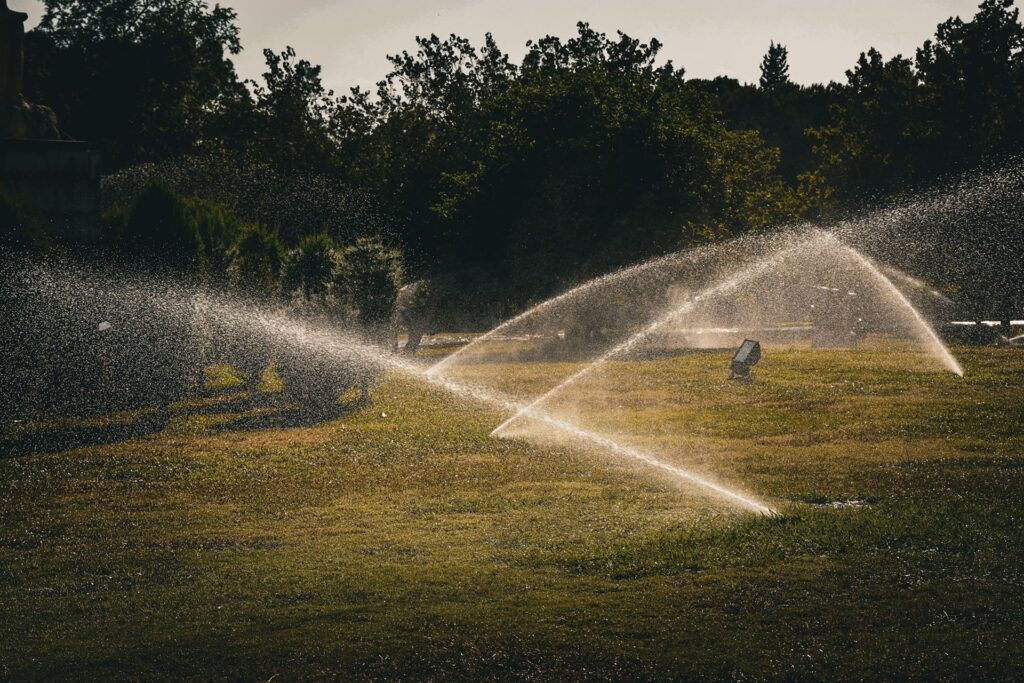
Irrigation System Specific Issues
For anyone with a sprinkler system, low pressure in the yard often comes down to a few specific irrigation problems:
Clogged sprinkler heads – Dirt, grass clippings, and mineral buildup can clog the small nozzles inside sprinkler heads. Each head should be unscrewed and cleaned periodically, especially in areas with hard water.
Too many zones running at once – If the irrigation controller is set to run multiple zones simultaneously, each zone gets less pressure than it would running alone. Adjusting the schedule so zones run one at a time, even if it takes longer overall, often dramatically improves pressure per zone.
Broken or cracked pipes underground – Just like the main water line, irrigation pipes can crack from freezing temperatures, tree root growth, or simple age. A sudden pressure drop in one specific zone, paired with a soggy patch of ground nearby, usually points to this.
Valve issues – Each zone typically has its own valve, and these can get stuck partially closed due to debris or wear over time.
Walking the yard during a watering cycle and watching each zone work is one of the best diagnostic tools available. Weak spots, uneven spray patterns, or areas that stay dry usually point directly to the problem area.
Seasonal Factors That Affect Yard Water Pressure
Some pressure drops aren’t really problems at all, they’re just seasonal patterns that most people don’t realize are normal.
During summer months, especially in neighborhoods where everyone waters their lawns around the same time in the early morning or evening, the local water supply gets stretched thin. This can cause a temporary pressure drop that has nothing to do with the home’s own plumbing.
In colder climates, winter freezing can also affect outdoor pipes if they’re not properly insulated. Even a partial freeze inside a pipe narrows the space water can flow through, similar to the corrosion issue mentioned earlier, just temporary instead of permanent.
If pressure issues seem to come and go with the seasons rather than being constant, it’s worth keeping a simple log: note the date, time of day, and pressure reading using the gauge mentioned earlier. Patterns often become obvious within just a couple of weeks of tracking.
Choosing the Right Hose Size for the Yard
This connects back to the hose discussion earlier, but it deserves its own section because so many people simply grab whatever hose is at the hardware store without thinking about whether it actually fits their yard’s needs.
For smaller yards, around 1,000 square feet or less, a standard 5/8 inch hose at around 50 feet is usually plenty. But for larger properties, especially anything over a quarter acre, a wider hose makes a real difference.
For those dealing with bigger spaces, it’s worth looking into the best hose size for watering large gardens, since the right diameter and length combination can mean the difference between a strong, steady stream and a weak trickle by the time water reaches the far end of the yard.
A quick way to think about it: doubling the length of a hose roughly doubles the friction loss, while increasing the diameter from 5/8 inch to 3/4 inch can increase flow capacity by roughly 30 to 40 percent depending on the pressure source. That’s a significant difference for anyone watering a large vegetable garden or flower bed far from the house.
How to Calculate the Actual Flow Rate
Sometimes the best way to understand what’s happening is to actually measure the flow rate coming out of the hose, rather than just guessing based on how it feels.
This is done by timing how long it takes to fill a container of known size, like a standard 5-gallon bucket. Here’s the simple process:
- Connect the hose to the spigot as normal.
- Turn the water on fully.
- Time how long it takes to fill the 5-gallon bucket completely.
- Divide 5 by the number of minutes (or fraction of a minute) it took.
The result gives the flow rate in gallons per minute (GPM). For reference, most garden hoses produce somewhere between 9 and 17 GPM under normal household pressure, though this varies a lot based on hose diameter, length, and the house’s actual water pressure.
For anyone who doesn’t want to do the math by hand, there’s a handy Garden Hose Flow Rate Calculator that does this automatically, just plug in the numbers and get an instant result. This is especially useful when comparing different hose setups to figure out which combination works best for a particular yard.
When to Call a Professional
Most of the fixes covered here are things a homeowner can handle on their own with basic tools and a bit of patience. But there are situations where calling in a professional plumber or irrigation specialist genuinely makes sense:
- Suspected underground leaks that can’t be located visually
- Pressure-reducing valve replacement, especially if it involves working close to the main water line
- Sudden, dramatic pressure drops with no obvious cause, which could indicate a serious issue like a main line break
- Whole-house pressure problems that affect indoor fixtures too, not just the yard
There’s nothing wrong with attempting the simpler fixes first. Many people are surprised at how often the problem turns out to be something small, like a partially closed valve or a clogged spigot screen. But knowing when to bring in extra help saves time, money, and frustration in the long run.
Summary
- Test pressure first – Use a $15 gauge on the outdoor spigot; healthy range is 40–60 PSI.
- Check the main shut-off valve – Often only partially open and the easiest fix.
- Clean the hose bib/spigot – Mineral buildup and clogged screens reduce flow.
- Check the hose itself – Wrong diameter (5/8″ vs 3/4″) or excess length (100 ft vs 25 ft) causes major pressure loss.
- Look for hidden leaks – High water bills, soggy patches, or a moving meter dial with everything off.
- Inspect the pressure-reducing valve (PRV) – Can fail and restrict flow; replacement costs $150–$350.
- Fix irrigation issues – Clogged sprinkler heads, too many zones running together, cracked pipes, or stuck valves.
- Account for seasonal factors – Summer demand spikes and winter freezing can temporarily cut pressure.
- Match hose size to yard size – Larger yards need wider, properly sized hoses.
- Measure actual flow rate – Time filling a 5-gallon bucket to calculate GPM (normal range: 9–17 GPM).
- Call a professional – For underground leaks, PRV replacement, or sudden major drops.
Putting It All Together
Low water pressure in the yard rarely has just one cause, and that’s actually good news. It means there are multiple places to check, and often the fix is simpler than expected. Starting with the easy stuff, the main valve, the spigot, and the hose itself, solves the problem more often than people realize. From there, working through irrigation-specific issues, checking for leaks, and considering seasonal patterns rounds out a thorough diagnosis.
For anyone setting up a new watering system or troubleshooting an old one, taking the time to measure actual flow rate and match hose size to yard size pays off in the long run. A little bit of testing now saves a lot of frustration later, especially during the hottest months when every drop of water pressure counts.
With a bit of patience and the right approach, that weak, disappointing trickle can turn back into the strong, steady stream needed to keep a yard healthy and green all season long.
FAQs
Why does my outdoor faucet have low water pressure but the inside of my house is fine?
This usually points to a problem specific to the outdoor line, such as a clogged spigot, mineral buildup in the hose bib, a partially closed valve feeding the outdoor line, or a leak between the main line and the yard. If indoor fixtures work normally, the issue is isolated to the outdoor plumbing rather than the whole house.
What PSI is considered good water pressure for a garden hose?
A healthy range is typically 40 to 60 PSI. Anything below 40 PSI often feels weak, especially with sprinklers or longer hoses, while anything above 80 PSI can be too high and may damage pipes or fittings over time.
Does hose length affect water pressure?
Yes. Longer hoses create more friction loss, which reduces pressure by the time water reaches the nozzle. A 100-foot hose will always deliver less pressure than a 25-foot hose connected to the same spigot, even if the house pressure is identical.
How can I tell if I have a hidden water leak affecting my yard’s pressure?
Turn off every faucet and appliance inside the house, then check the water meter. If the dial is still moving, there’s likely a leak somewhere in the system. Other signs include unusually high water bills or unexplained soggy, green patches in the yard.
Can a pressure-reducing valve (PRV) cause low water pressure outdoors?
Yes. A PRV can fail over time and get stuck in a position that restricts flow more than intended. If pressure dropped suddenly after years of being normal, a failing PRV is a likely cause, and replacement typically costs $150 to $350 including labor.