- Flow rate matters because it affects sprinklers, drip systems, and watering time.
- A good range is usually 9–17 GPM for most garden hoses.
- Bucket test: Fill a 5-gallon bucket, time it, then use (Gallons ÷ Seconds) × 60 = GPM.
- Use the Garden Hose Flow Rate Calculator for quick results without math.
- A flow meter ($15–$40) gives instant readings for regular use.
- 15+ GPM = great, 8–14 GPM = normal, under 8 GPM = check for issues.
- Low flow causes: small hose size, kinks, clogged nozzles, old hoses, or home water pressure.
- Sprinklers need 8–13 GPM; drip systems need 2–4 GPM.
- Test occasionally, especially after a new hose, plumbing work, or moving homes.
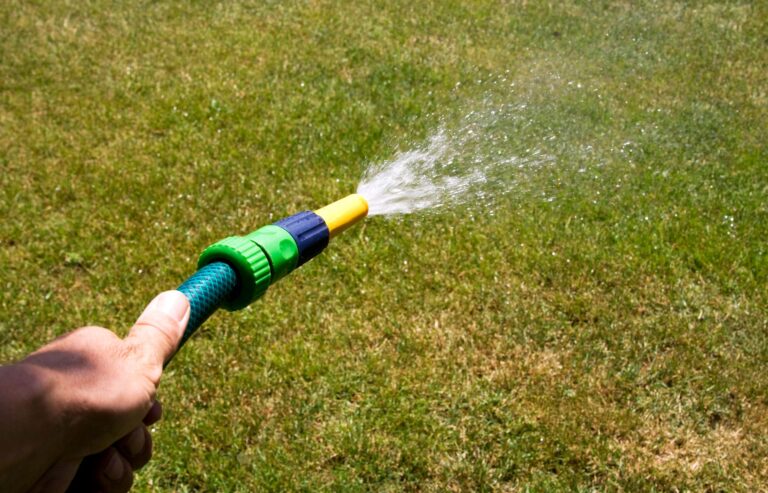
Anyone who has stood in their backyard wondering why the sprinkler takes forever to fill up or why the vegetable patch still looks thirsty after 20 minutes of watering has probably asked the same question: how much water is actually coming out of that hose?
The good news is that figuring this out does not require fancy tools, a plumber, or a degree in engineering. With a bucket, a stopwatch (or just a phone), and a few minutes of patience, anyone can get a surprisingly accurate number.
This guide walks you through several home-friendly methods, explains what the numbers mean, and shares some practical tips that come from years of trial and error in real gardens. By the end, readers will know exactly how to test their hose, what a healthy flow rate looks like, and what to do if the results are disappointing.
Why Flow Rate Actually Matters
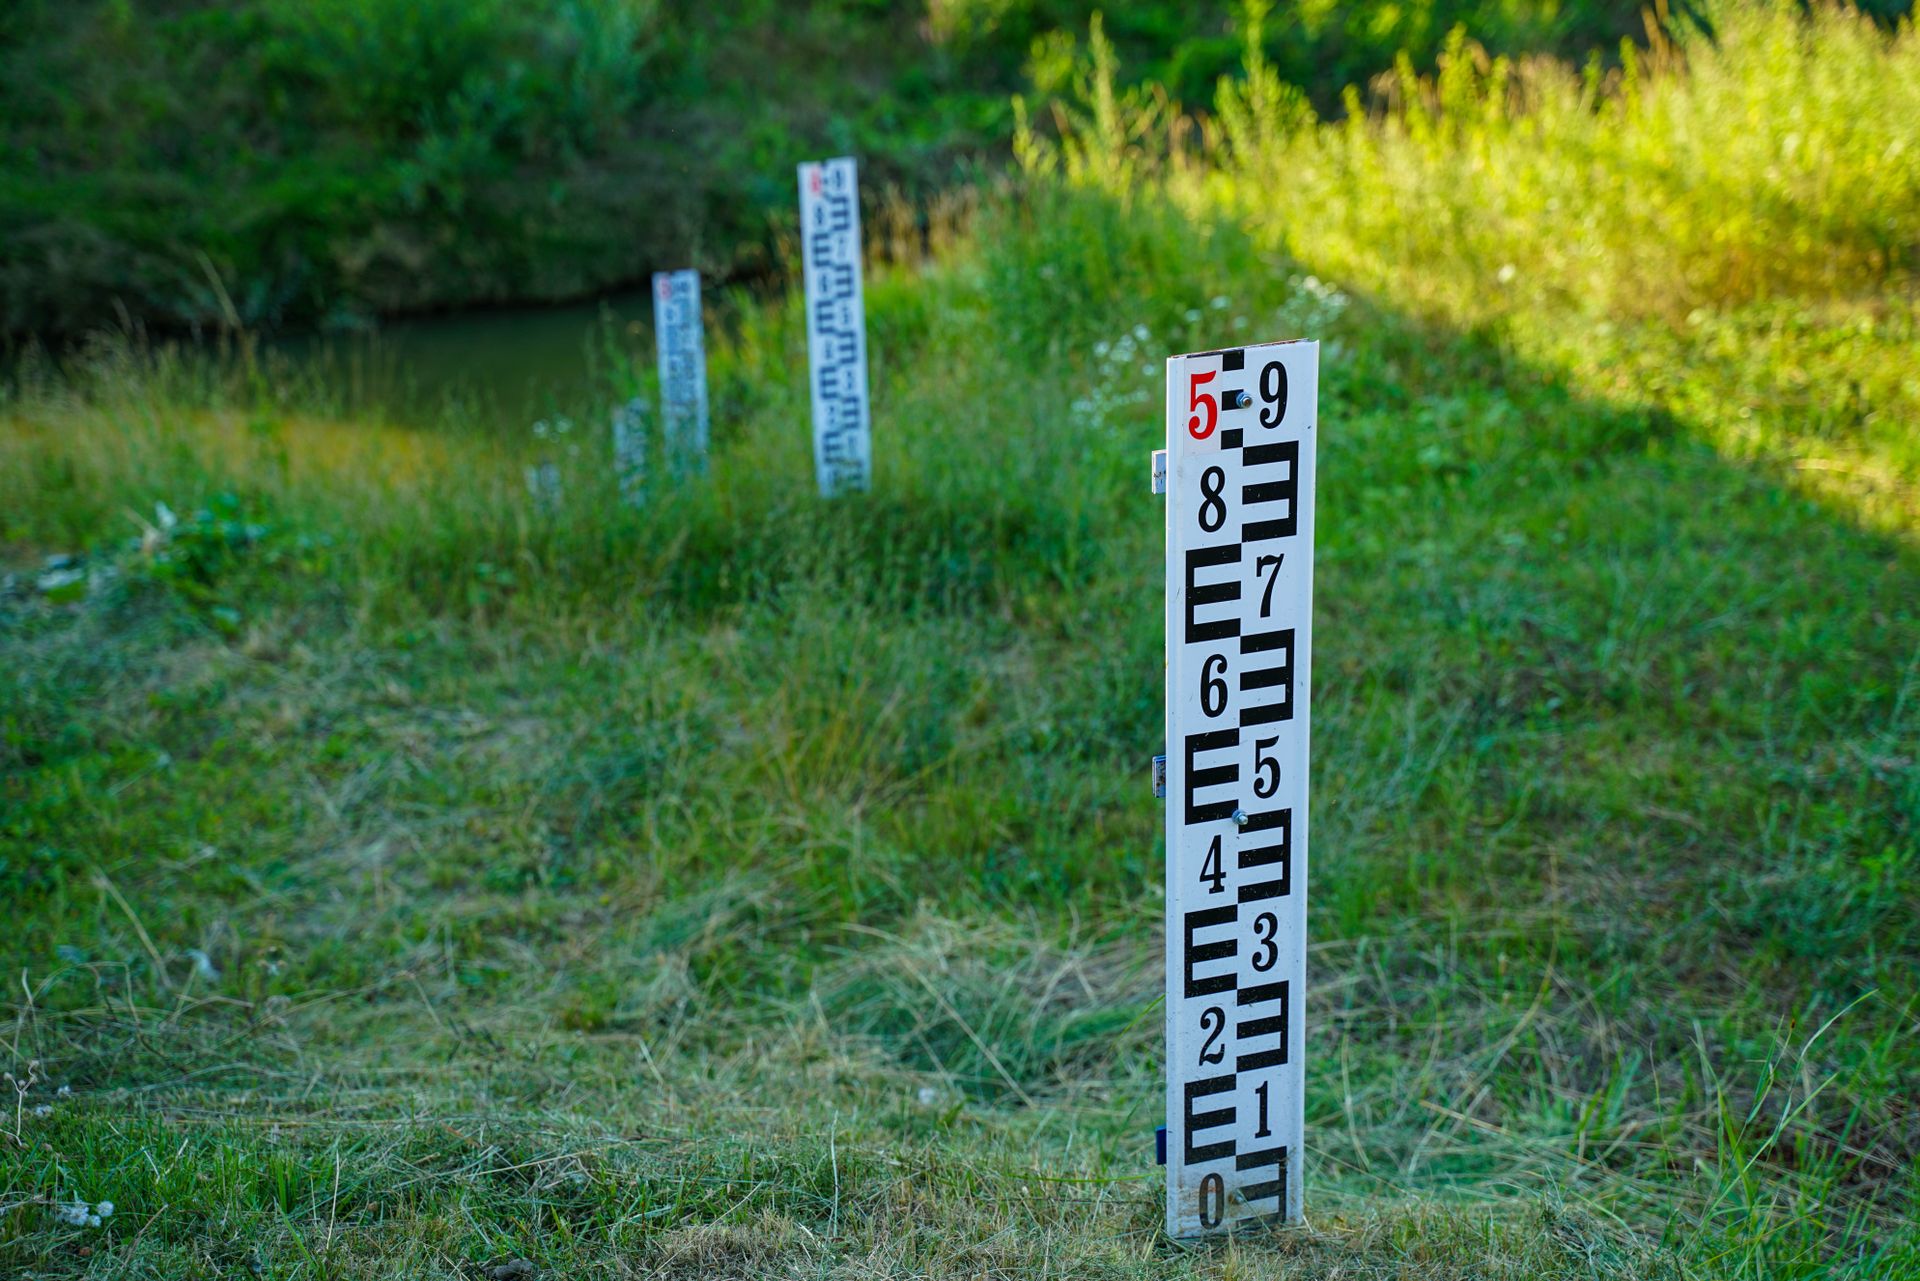
Most people never think about flow rate until something goes wrong. Maybe the sprinkler barely reaches halfway across the lawn, or the drip irrigation system seems to be dripping in slow motion. Flow rate, usually measured in gallons per minute (GPM), is basically a measurement of how much water moves through the hose in a set amount of time.
This number affects almost everything in a garden setup:
- How long it takes to water a flower bed or lawn
- Whether a sprinkler head will get enough pressure to spray properly
- Whether a drip irrigation system will work efficiently across a long run
- How quickly a kiddie pool, rain barrel, or water feature fills up
A hose with a low flow rate is not necessarily broken. Sometimes it is just the nature of a longer or narrower hose, while other times it is a sign of a kink, a clogged nozzle, or a household water pressure issue. Either way, testing it at home is the first step toward understanding what is going on.
What Counts as a “Good” Flow Rate?
Before testing anything, it helps to know what number to aim for. Most standard garden hoses produce somewhere between 9 and 17 GPM, depending on the diameter and the household’s water pressure. A 5/8-inch hose, which is the most common size sold in stores, typically lands somewhere in the middle of that range under normal pressure.
For a deeper breakdown of what numbers are considered strong versus weak, it’s worth checking out what makes a good flow rate for a garden hose, which explains how different hose diameters and pressure levels affect the final result. Understanding this baseline makes it much easier to interpret the test results later in this article.
Method 1: The Classic Bucket and Stopwatch Test
This is the method most experienced gardeners swear by because it requires almost nothing and gives a real-world number based on actual water pressure that day.
What’s Needed
- A bucket with a known volume (a standard 5-gallon bucket works perfectly)
- A stopwatch or phone timer
- The garden hose, connected to the spigot as usual
Step-by-Step Instructions
Step 1: Turn the hose on fully, the same way it would normally be used for watering. Do not adjust the spigot halfway, since the goal is to measure the flow as it actually performs during regular use.
Step 2: Let the water run for a few seconds before starting the timer. This clears out any air pockets or initial pressure surge that could throw off the reading.
Step 3: Place the open end of the hose into the bucket and start the timer at the exact same moment.
Step 4: Stop the timer the moment the bucket is full, or stop the water after a set time (like 30 seconds) and measure how much water collected.
Step 5: Use this simple formula to calculate GPM:
GPM = (Gallons Collected ÷ Seconds Elapsed) × 60
For example, if the bucket fills with 5 gallons in 20 seconds, the math looks like this:
(5 ÷ 20) × 60 = 15 GPM
That would be considered a strong, healthy flow for most home gardening needs.
A Quick Tip From Experience
It helps to run this test two or three times and average the results. Water pressure in most homes fluctuates slightly throughout the day, especially if other people in the house are running the dishwasher, washing machine, or another hose at the same time. Testing once in the morning and once in the evening can reveal a surprising difference, sometimes as much as 2 to 3 GPM.
Method 2: Using a Container With Measurement Markings
For anyone who does not have a 5-gallon bucket lying around, a large measuring container, a watering can with volume markings, or even a clean storage bin with known dimensions can work just as well.
How to Do It
- Calculate the container’s volume in gallons if it is not already marked. For rectangular containers, multiply length × width × height (in inches), then divide by 231 to get gallons.
- Run the hose into the container for a fixed time, such as 15 or 30 seconds.
- Measure how full the container got and convert that to gallons.
- Plug the numbers into the same GPM formula from Method 1.
This approach is especially useful for people who want to test smaller or more precise amounts, like checking the output of a single drip line or a soaker hose section.
Method 3: The Flow Rate Calculator Shortcut
For those who would rather skip the math entirely, there is an even simpler option. After collecting the basic numbers (gallons and seconds), plugging them into the Garden Hose Flow Rate Calculator instantly converts the raw data into a usable GPM figure. This is especially handy for people who tested multiple hoses or ran several trials and want quick, consistent results without redoing the formula by hand each time.
This method is also great for beginners who are not totally comfortable with the math, or for anyone testing flow rate across a few different hoses to compare which one performs best.
Method 4: Testing With a Flow Meter Attachment
For gardeners who water frequently or run irrigation systems, a small inline flow meter can be attached between the spigot and the hose. These devices are inexpensive, often costing between $15 and $40, and give a real-time digital readout of GPM as the water flows.
Pros of This Method
- Provides instant, ongoing readings
- Useful for monitoring flow during actual watering sessions, not just tests
- Can help detect sudden drops in flow that might indicate a leak or clog
Cons of This Method
- Requires purchasing a separate tool
- Some cheaper models can be less accurate than the bucket test
- Needs occasional calibration checks against the bucket method to confirm accuracy
For most casual gardeners, the bucket test is more than enough. But for anyone managing a larger vegetable garden, multiple raised beds, or an automated irrigation timer, a flow meter can be a worthwhile investment.
What the Results Actually Mean
Once a number is in hand, the next step is figuring out what it means for the garden setup.
If the Flow Rate Is High (15+ GPM)
This is generally great news. A flow rate in this range means sprinklers will get full pressure, drip systems will reach the end of long lines without losing much pressure, and tasks like filling a pool or rinsing off garden tools will be quick and easy.
If the Flow Rate Is Moderate (8 to 14 GPM)
This is considered normal for most residential setups and is perfectly fine for hand watering, most sprinklers, and short to medium drip irrigation runs. Some adjustments might be needed for very long hose runs or multiple sprinkler heads running at once.
If the Flow Rate Is Low (Under 8 GPM)
This is where things start to feel frustrating. Watering takes longer, sprinklers may not reach as far, and drip systems might not deliver enough water to plants at the far end of the line. A low reading does not always mean something is broken, but it is worth investigating further.
Common Reasons for Low Flow Rate (And What to Do About Them)
After testing dozens of hoses over the years across different homes, a few culprits show up again and again.
1. Hose Diameter Is Too Small
A 1/2-inch hose will almost always have a lower flow rate than a 5/8-inch or 3/4-inch hose, even under the exact same water pressure. If the garden is large or the hose run is long, upgrading to a wider diameter can make a noticeable difference. Anyone dealing with a sprawling vegetable garden or a big backyard might want to look into the best hose size for watering large gardens, since the right diameter can dramatically improve how far water travels and how evenly it’s distributed.
2. Kinks and Bends
This sounds obvious, but it’s the number one cause of low flow in real life. Even a slight kink near the spigot can cut flow significantly, sometimes by 30% or more. Walking the entire length of the hose and straightening out any bends before testing is a simple but often overlooked step.
3. Clogged Nozzle or Sprayer
Mineral deposits, dirt, and small debris love to build up inside spray nozzles, especially in areas with hard water. Removing the nozzle and testing flow rate directly from the open hose end can quickly reveal whether the nozzle itself is the bottleneck.
4. Old or Cracked Hose Walls
Over time, especially with sun exposure, the inside walls of a hose can degrade, narrowing the effective diameter and reducing flow. If a hose is several years old and has been sitting in direct sunlight, this could be part of the problem.
5. Household Water Pressure Issues
Sometimes the hose is perfectly fine, and the real issue is the home’s overall water pressure. Older plumbing, a partially closed main shutoff valve, or a faulty pressure regulator can all reduce flow throughout the house, not just at the outdoor spigot. For anyone whose flow rate test came back low across multiple hoses, it might be worth reading through some tips on improving low water pressure, since the fix might have nothing to do with the hose itself.
Testing Flow Rate for Specific Garden Tasks
Different garden activities need different flow rates, so it helps to think about what the number actually needs to support.
Sprinklers
Most oscillating and rotary sprinklers are designed to work best somewhere around 8 to 13 GPM. Testing flow rate with the sprinkler attached (rather than just the open hose) gives a more realistic picture of what the sprinkler is actually receiving.
Drip Irrigation
Drip systems are much more forgiving and often only need 2 to 4 GPM for a typical home garden setup, depending on how many emitters are in the line. However, if the main hose feeding the drip system has a low flow rate, the far end of long drip lines might not get adequate water pressure.
Pressure Washers and Hose-End Attachments
Some attachments, like certain pressure washer nozzles or foam cannons, require a minimum flow rate to function properly, often around 2 to 4 GPM at minimum. Checking the manufacturer’s requirements and comparing them to a home flow test can prevent buying an attachment that simply won’t work with the existing setup.
Seasonal Changes in Flow Rate
Here’s something that surprises a lot of people: flow rate is not always the same year-round. In colder months, municipal water pressure sometimes shifts due to demand changes, and in summer, especially during droughts or high-usage periods, many cities reduce pressure slightly to conserve supply.
Testing flow rate once in early spring and again in mid-summer can reveal patterns that help with planning. For example, if summer testing shows a noticeable drop, it might be worth adjusting watering schedules, switching to early morning watering when demand (and therefore pressure) is lower, or considering a wider hose to compensate.
A Simple Step-by-Step Recap
For anyone who wants the short version, here’s the entire process from start to finish:
- Grab a 5-gallon bucket (or any container with known volume) and a timer.
- Turn the hose on fully and let it run for a few seconds before timing.
- Time how long it takes to fill the bucket, or measure how much fills in 30 seconds.
- Calculate GPM using: (Gallons ÷ Seconds) × 60.
- Compare the result to the general ranges above to understand what it means.
- If the number seems low, check for kinks, clogged nozzles, hose diameter, and household water pressure.
- Repeat the test at different times of day or different seasons for a fuller picture.
Tools That Make This Even Easier
While a bucket and a timer are really all anyone needs, a few extra household items can make the process smoother and the results more reliable.
A Permanent Marker
Marking the inside of a bucket at the 1-gallon, 2-gallon, and 5-gallon levels means there’s no need to wait for a full bucket every time. This is especially helpful when testing multiple hoses back to back, since waiting for a complete fill each time can get tedious.
A Phone Timer With Lap Function
Most smartphones have a stopwatch with a “lap” feature. Using laps to mark each gallon as it’s reached gives extra data points without restarting the whole test, which is useful for spotting whether flow rate changes (sometimes it slows slightly as a hose warms up in the sun).
A Notebook or Notes App
It might sound unnecessary, but jotting down results, including the date, time of day, and weather, builds a useful record over time. After a few months, patterns become obvious, like flow being noticeably weaker on hot afternoons when neighbors are also watering their lawns.
Mistakes to Avoid While Testing
A few small errors can throw off results and lead to confusing or inconsistent numbers.
Starting the timer too early: If the timer starts the instant the water is turned on, the initial burst of pressure (which is often higher than the steady-state flow) gets included in the measurement, making the result look better than it really is.
Using a leaking or damaged bucket: Even a small crack can let water escape unnoticed, especially during longer tests, which throws off the gallon count.
Testing right after using other water fixtures: Running the dishwasher, taking a shower, or using another hose at the same time will pull down the household’s overall water pressure and produce a lower-than-normal reading.
Forgetting to test with attachments: If the hose is normally used with a nozzle, sprinkler, or wand attached, testing the open hose alone won’t reflect real-world performance. It’s worth testing both ways to understand the difference the attachment makes.
Only testing once: As mentioned earlier, water pressure naturally fluctuates. A single test gives a snapshot, not the full picture.
How Flow Rate Connects to Water Pressure

It’s easy to mix up flow rate and water pressure, but they’re not the same thing, even though they’re closely related. Water pressure is measured in PSI (pounds per square inch) and describes how forcefully water is being pushed through the pipes. Flow rate, on the other hand, measures the volume of water moving over time.
Think of it like a highway: pressure is how fast the cars are going, while flow rate is how many cars pass a certain point per minute. A narrow hose (like a traffic jam on a single lane) can restrict flow even if the pressure pushing the water is quite high. That’s why two homes with identical water pressure can have very different flow rates simply because of hose diameter, length, or condition.
This is also why a bucket test is so useful. It captures the combined effect of pressure, hose diameter, hose length, and any blockages, all in one simple number that directly reflects real watering performance.
When to Retest
Flow rate isn’t something that needs to be checked every week, but there are a few situations where retesting makes sense.
- After buying a new hose, to confirm it performs as expected
- After noticing watering takes longer than it used to
- After any plumbing work in the house
- When moving to a new home, to get a baseline reading
- Before setting up a new irrigation system, to make sure the water source can support it
Keeping even a rough record of past results makes these comparisons much easier and takes the guesswork out of figuring out whether something has actually changed or if it’s just an off day.
Summary
- Explains how to measure garden hose flow rate at home using simple household tools.
- Covers what flow rate means and why it matters for sprinklers, drip systems, and watering efficiency.
- Defines a good flow rate range (roughly 9–17 GPM) depending on hose size.
- Describes the bucket test method: time how long it takes to fill a known volume, then calculate GPM using (Gallons ÷ Seconds) × 60.
- Mentions alternatives like using a flow rate calculator or an inline flow meter for quicker or ongoing readings.
- Explains how to interpret results (high, moderate, or low flow rate).
- Lists common causes of low flow: kinks, clogged nozzles, small hose diameter, old hoses, or household water pressure issues.
- Breaks down flow needs for specific tasks like sprinklers (8–13 GPM) and drip irrigation (2–4 GPM).
- Notes that flow rate can change seasonally and should be retested occasionally.
- Lists common testing mistakes to avoid for accurate results.
- Suggests good times to retest, such as after buying a new hose or moving homes.
Final Thoughts
Measuring garden hose flow rate at home is one of those small tasks that takes just a few minutes but can save a lot of frustration down the road. Whether it’s figuring out why a sprinkler isn’t reaching the back fence, planning out a new drip irrigation system, or just satisfying curiosity about how the home’s plumbing performs, a simple bucket test gives real, usable answers.
The best part is that this is not a one-time task. Testing flow rate occasionally, especially after moving to a new home, installing new plumbing, or noticing watering takes longer than usual, helps catch small issues before they become bigger headaches. With the right number in hand, choosing the right hose, sprinkler, or irrigation setup becomes a whole lot easier, and the garden ends up healthier for it.
FAQs
What is a normal flow rate for a garden hose?
A normal flow rate for a garden hose typically falls between 9 and 17 gallons per minute (GPM), though where exactly a hose lands within that range depends on a few key factors. The diameter of the hose plays a big role: a standard 5/8-inch hose, which is the most common size found in home gardens, usually delivers a flow rate somewhere in the middle of that range, often around 12 to 13 GPM under typical residential water pressure. Thinner hoses, like 1/2-inch hoses, tend to produce less flow even at the same pressure, while wider 3/4-inch hoses can push significantly more water through. Beyond diameter, your home’s water pressure and the length of the hose itself also matter quite a bit. A longer hose creates more friction and resistance, which gradually reduces flow the farther water has to travel, so a 100-foot hose will generally have a lower flow rate than a 25-foot hose of the same diameter connected to the same spigot. The fitting and nozzle attached to the end of the hose can also make a noticeable difference, since narrow nozzle openings or restrictive spray patterns will reduce the effective flow even if the hose itself is capable of more.
How do you check the flow rate of a hose without buying tools?
To check your hose’s flow rate without buying any specialized equipment, the simplest method is the bucket test. Grab a standard 5-gallon bucket, turn your hose on to full pressure, and start timing as soon as water begins flowing into the bucket. Stop the timer the moment the bucket reaches the 5-gallon mark. Once you have that time in seconds, plug it into this formula: (Gallons ÷ Seconds) × 60 = GPM. For example, if it takes 30 seconds to fill the bucket, your calculation would be (5 ÷ 30) × 60, which gives you 10 GPM. This method is quick, free, and reasonably accurate for everyday purposes like figuring out whether your hose can keep up with a sprinkler or irrigation system. For more consistent results, try running the test a couple of times and averaging the results, and make sure the hose is laid out fairly straight without kinks during the test, since that will give you a more realistic picture of your hose’s actual performance under normal use.
Why is my garden hose flow rate so low?
If you’re noticing that your garden hose flow rate seems unusually low, there are several common culprits worth checking before assuming something is seriously wrong. Kinks are probably the most frequent offender, since even a single bend can dramatically restrict water flow, especially in cheaper or older hoses that have lost some of their flexibility over time. A clogged or partially blocked nozzle is another likely cause, as mineral deposits, dirt, or debris can build up inside the nozzle and narrow the opening that water passes through. The hose’s diameter itself can also be a factor, particularly if you’re using a narrower hose for a task that really calls for more volume, like filling a pool or running a sprinkler system. Lastly, don’t overlook your household water pressure, since issues with your home’s plumbing, a partially closed shut-off valve, sediment buildup in pipes, or even high demand elsewhere in the house (like someone running a washing machine or dishwasher at the same time) can temporarily reduce the pressure reaching your outdoor spigot and noticeably affect your hose’s output.
What flow rate do I need for drip irrigation?
Most home drip irrigation systems work well with a flow rate of around 2 to 4 GPM, which is considerably lower than what a typical garden hose produces on its own. This is because drip systems are designed to deliver water slowly and steadily directly to the root zones of plants, rather than spraying large volumes quickly like a sprinkler or hose nozzle would. Because of this difference, most drip systems include a pressure regulator and a flow restrictor near the connection point, which take the higher flow and pressure coming from your hose and step it down to the gentler rate the drip lines and emitters are designed to handle. That said, longer drip lines, or systems with a larger number of emitters spread across a bigger garden bed, may require slightly more flow to ensure that plants at the far end of the line receive adequate water pressure and volume, similar to plants closer to the source.
How often should I test my garden hose flow rate?
It’s a good idea to retest your garden hose’s flow rate after buying a new hose, since this gives you a baseline to compare against later and helps you confirm the hose is performing as expected right out of the box. You should also retest after any plumbing changes in your home, such as new pipes, a new water heater, or adjustments to your main water line, since these changes can affect the pressure reaching your outdoor spigots. Additionally, if you notice that watering tasks suddenly seem to be taking longer than they used to, that’s a good signal to run the test again, as it can help you catch problems early, whether that’s a developing kink, a clog forming in the nozzle, or a gradual decline in household water pressure that might need attention from a plumber.