- Measure the length and width of the border in feet
- Multiply them together to get the square footage
- Choose a depth based on rock size, usually 2 to 4 inches
- Convert depth to feet by dividing by 12
- Multiply square footage by depth (in feet) to get cubic feet
- Divide cubic feet by 27 to get cubic yards
- Add about 10 percent extra for curves, corners, or sloped ground
- For weight-based orders, multiply cubic yards by roughly 1.3 to estimate tons
There’s something deeply satisfying about a garden border that actually looks finished. The kind where the rock sits at just the right depth, the edges stay crisp through every rainstorm, and you didn’t end up with a leftover pile in the driveway or a panicked second trip to the stone yard. Getting there isn’t about luck. It’s about doing the math before the truck shows up, not after.
Most people who try this for the first time either guess (and usually guess wrong) or get lost in a calculator that asks for numbers they don’t have yet.
This guide skips both problems. It walks through the actual process, step by step, using the kind of measurements anyone can take with a tape measure and a Saturday afternoon.
Why Getting the Calculation Right Actually Matters
Ordering rock isn’t like ordering mulch. Mulch is light, forgiving, and cheap enough that a small miscalculation barely registers. Rock is heavy, often sold by the ton, and delivery isn’t free. A miscalculation here costs real money in two directions.
Order too little, and the project stalls. Most suppliers charge a delivery fee per trip, so a second order to cover a shortfall can easily add $50 to $150 just in delivery costs, on top of the extra material.
Order too much, and the leftover rock has nowhere to go. Most homeowners don’t have a truck to haul it back, and most suppliers won’t take it back anyway once it’s left the yard.
There’s also a quieter cost: a border that’s too shallow. A border laid down at half the recommended depth looks fine for about three weeks, and then weeds start poking through, soil shows at the edges, and the whole thing looks tired well before its time.
Getting the depth and volume right the first time isn’t just about saving money. It’s about the border actually doing its job.
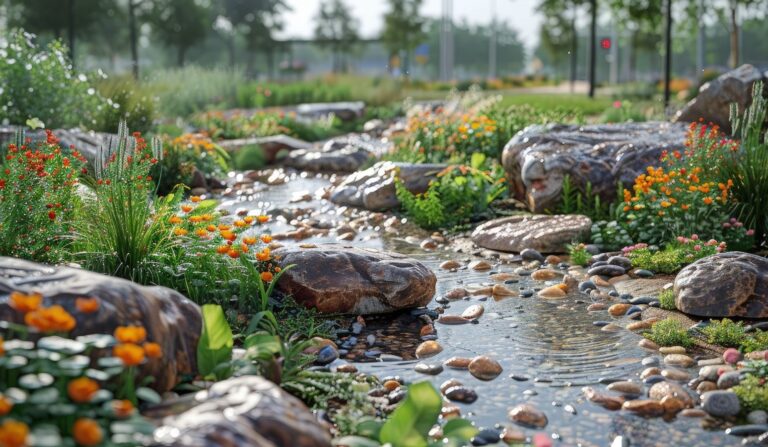
Start With the Shape of Your Border, Not the Math
Before any formula gets involved, the smartest move is to look at the actual shape of the area. Garden borders are rarely a single clean rectangle.
They curve around a patio, wrap a tree, or follow the edge of a flower bed that someone designed for looks rather than ease of measurement.
The trick professional landscapers use is to break the border down into simple shapes. Almost any garden border, no matter how curvy, can be approximated using a combination of rectangles, circles, and triangles. A curved bed that hugs a fence line might really be a long rectangle.
A ring around a tree is a circle, or more accurately, a ring shape with an inner and outer edge. A triangular corner bed is exactly what it sounds like.
This matters because trying to calculate volume for an irregular blob shape leads to guessing, and guessing is exactly what this whole process is trying to avoid.
Measuring a Straight or Rectangular Border
This is the most common shape for a garden border, especially along a fence, driveway, or the edge of a lawn. For a rectangular strip, the only two numbers needed are the length and the width.
Walk the length of the border with a tape measure and write down the number in feet. Then measure the width, meaning how wide the rock layer will actually be, from the inner edge near the plants to the outer edge near the lawn.
Most garden borders run somewhere between 6 inches and 18 inches wide, depending on how much visual separation is wanted.
Multiply length by width to get the square footage. A border that’s 40 feet long and 1 foot wide covers 40 square feet. Simple, and it’s the foundation for everything that comes next.
Measuring a Circular Border (Tree Rings and Round Beds)
Circular borders show up around trees, lampposts, and round flower beds. These need a slightly different formula because circles don’t have a length and width in the traditional sense.
For a full circle, measure the diameter, the distance straight across the widest point, then divide that in half to get the radius. The area formula is π × radius², where π is roughly 3.14.
For a ring-shaped border, which is far more common around trees since the trunk takes up the center, two measurements are needed: the outer diameter of the ring and the inner diameter where the ring meets the trunk or the planting area.
Calculate the area of the full outer circle, then subtract the area of the inner circle. What’s left is the actual ring area that needs rock.
Measuring an Irregular or Curved Border
For borders that genuinely curve and twist, like a flower bed with a wavy edge, the cleanest approach borrowed from professional landscapers is to lay a length of rope or twine along the curve, following every bend exactly as it will be installed. Then straighten that twine out and measure it with a tape measure.
That gives the effective length of an irregular border, which can then be treated like a rectangle using the average width of the rock layer.
It’s also smart to add a small buffer for these curved sections. Adding around 10 percent extra to the calculated area for irregular shapes accounts for the extra material that naturally settles into curves and corners.
The Depth Decision: Why It Changes Everything
Here’s the part almost everyone underestimates, including people who’ve measured the area perfectly. Depth isn’t a minor detail. It’s the multiplier that turns a flat square footage number into an actual volume of rock, and getting it wrong by even an inch can throw the whole order off by a significant percentage.
For a typical decorative garden border, 2 inches of depth is usually enough if the rock is being layered over landscape fabric and the goal is mostly visual. For borders that also need to suppress weeds or hold back mulch, 3 inches gives noticeably better coverage and stays in place longer.
Anywhere there’s foot traffic, like a stepping path through a border, 4 inches is worth the extra material since it resists shifting and compaction better.
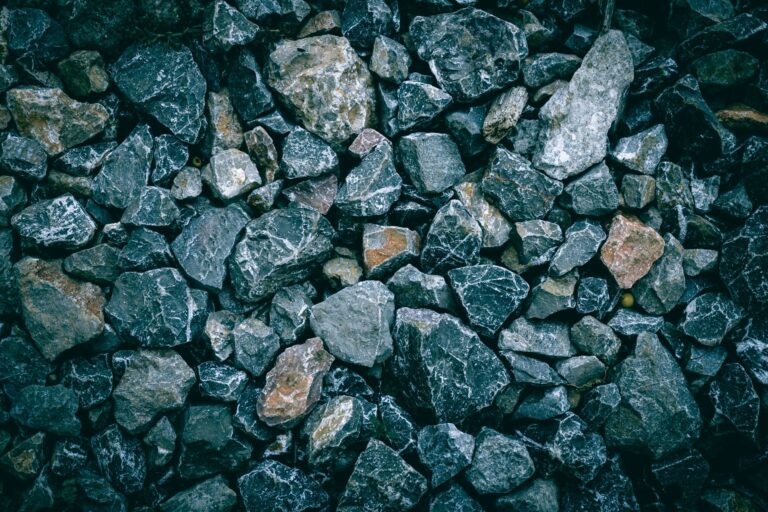
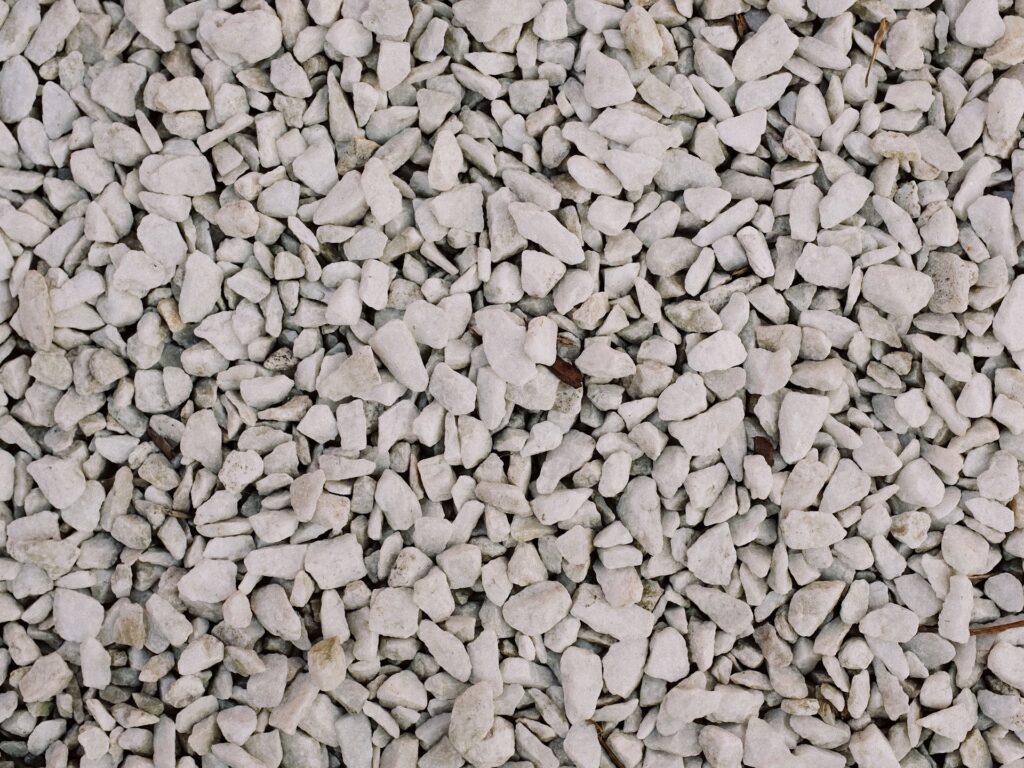
Larger decorative stones, the kind in the 2-inch to 4-inch range, need a deeper layer than small pea gravel simply because the individual pieces are bigger. A shallow layer of large rock leaves visible gaps where the soil underneath shows through, which defeats the purpose of the border in the first place.
A good rule that experienced landscapers use: smaller stone, shallower depth; larger stone, deeper layer. It’s intuitive once it’s pointed out, but it’s the single most common thing people forget when ordering.
The Actual Formula: Turning Area Into Volume
Once the square footage is known and the depth has been decided, the rest is one formula, repeated for every section of the border.
Volume in cubic feet = Square footage × Depth (in feet)
The depth has to be converted to feet before this works, since the area is already in square feet. To convert inches to feet, divide by 12. So a 3-inch depth becomes 0.25 feet, and a 4-inch depth becomes roughly 0.33 feet.
Once the cubic feet number is calculated, it needs to be converted into cubic yards, since that’s how most suppliers sell and price bulk rock. There are 27 cubic feet in 1 cubic yard, so the final step is dividing the cubic feet total by 27.
Cubic yards needed = Cubic feet ÷ 27
Working Through a Real Example
Say a border runs 30 feet long and 1.5 feet wide along the edge of a backyard patio, and the plan is to lay 3 inches of decorative river rock.
- First, the area: 30 feet × 1.5 feet = 45 square feet.
- Next, convert the depth: 3 inches ÷ 12 = 0.25 feet.
- Then calculate the volume: 45 square feet × 0.25 feet = 11.25 cubic feet.
- Finally, convert to cubic yards: 11.25 ÷ 27 = 0.42 cubic yards.
That’s the number to bring to the supplier, or round up slightly to 0.5 cubic yards to leave a little room for settling and uneven ground, which almost every real yard has somewhere along the line.
For anyone who would rather skip the manual math entirely, particularly when a border has several sections with different shapes, the Garden Rock Calculator handles all of this automatically. It’s worth using once the measurements are in hand, just to double-check the manual math lines up, since even small arithmetic slips can throw off an order.
Cubic Yards or Tons? Knowing What to Ask For
This trips up a surprising number of first-time buyers. Some suppliers sell rock by volume (cubic yards), and others sell by weight (tons), and the two aren’t interchangeable without knowing the rock’s density.
As a general guide, a cubic yard of typical landscaping rock or river rock weighs somewhere around 2,400 to 2,800 pounds, which works out to roughly 1.2 to 1.4 tons per cubic yard.
Larger rock, like the 3-inch to 8-inch range used for bigger decorative borders, is usually priced and ordered by the ton rather than the yard, since the irregular sizing makes volume estimates less reliable.
If a supplier only quotes by the ton, multiplying the cubic yard figure by 1.3 gives a reasonably close estimate for most standard landscaping stone. It won’t be exact, since rock density varies by material type, but it’s close enough to avoid a major shortfall.
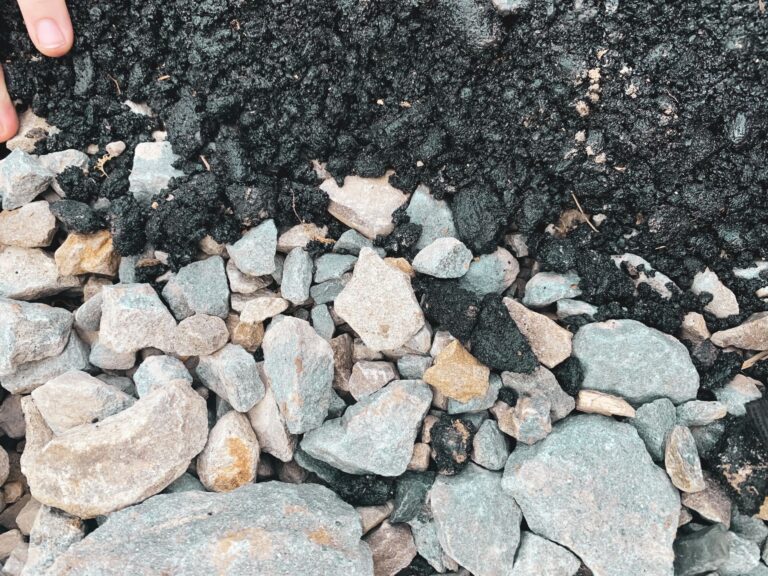
Choosing the Right Rock Size for the Border’s Job
Not every border needs the same rock, and the size chosen actually affects the calculation slightly because of how the pieces settle and how much air gap exists between them.
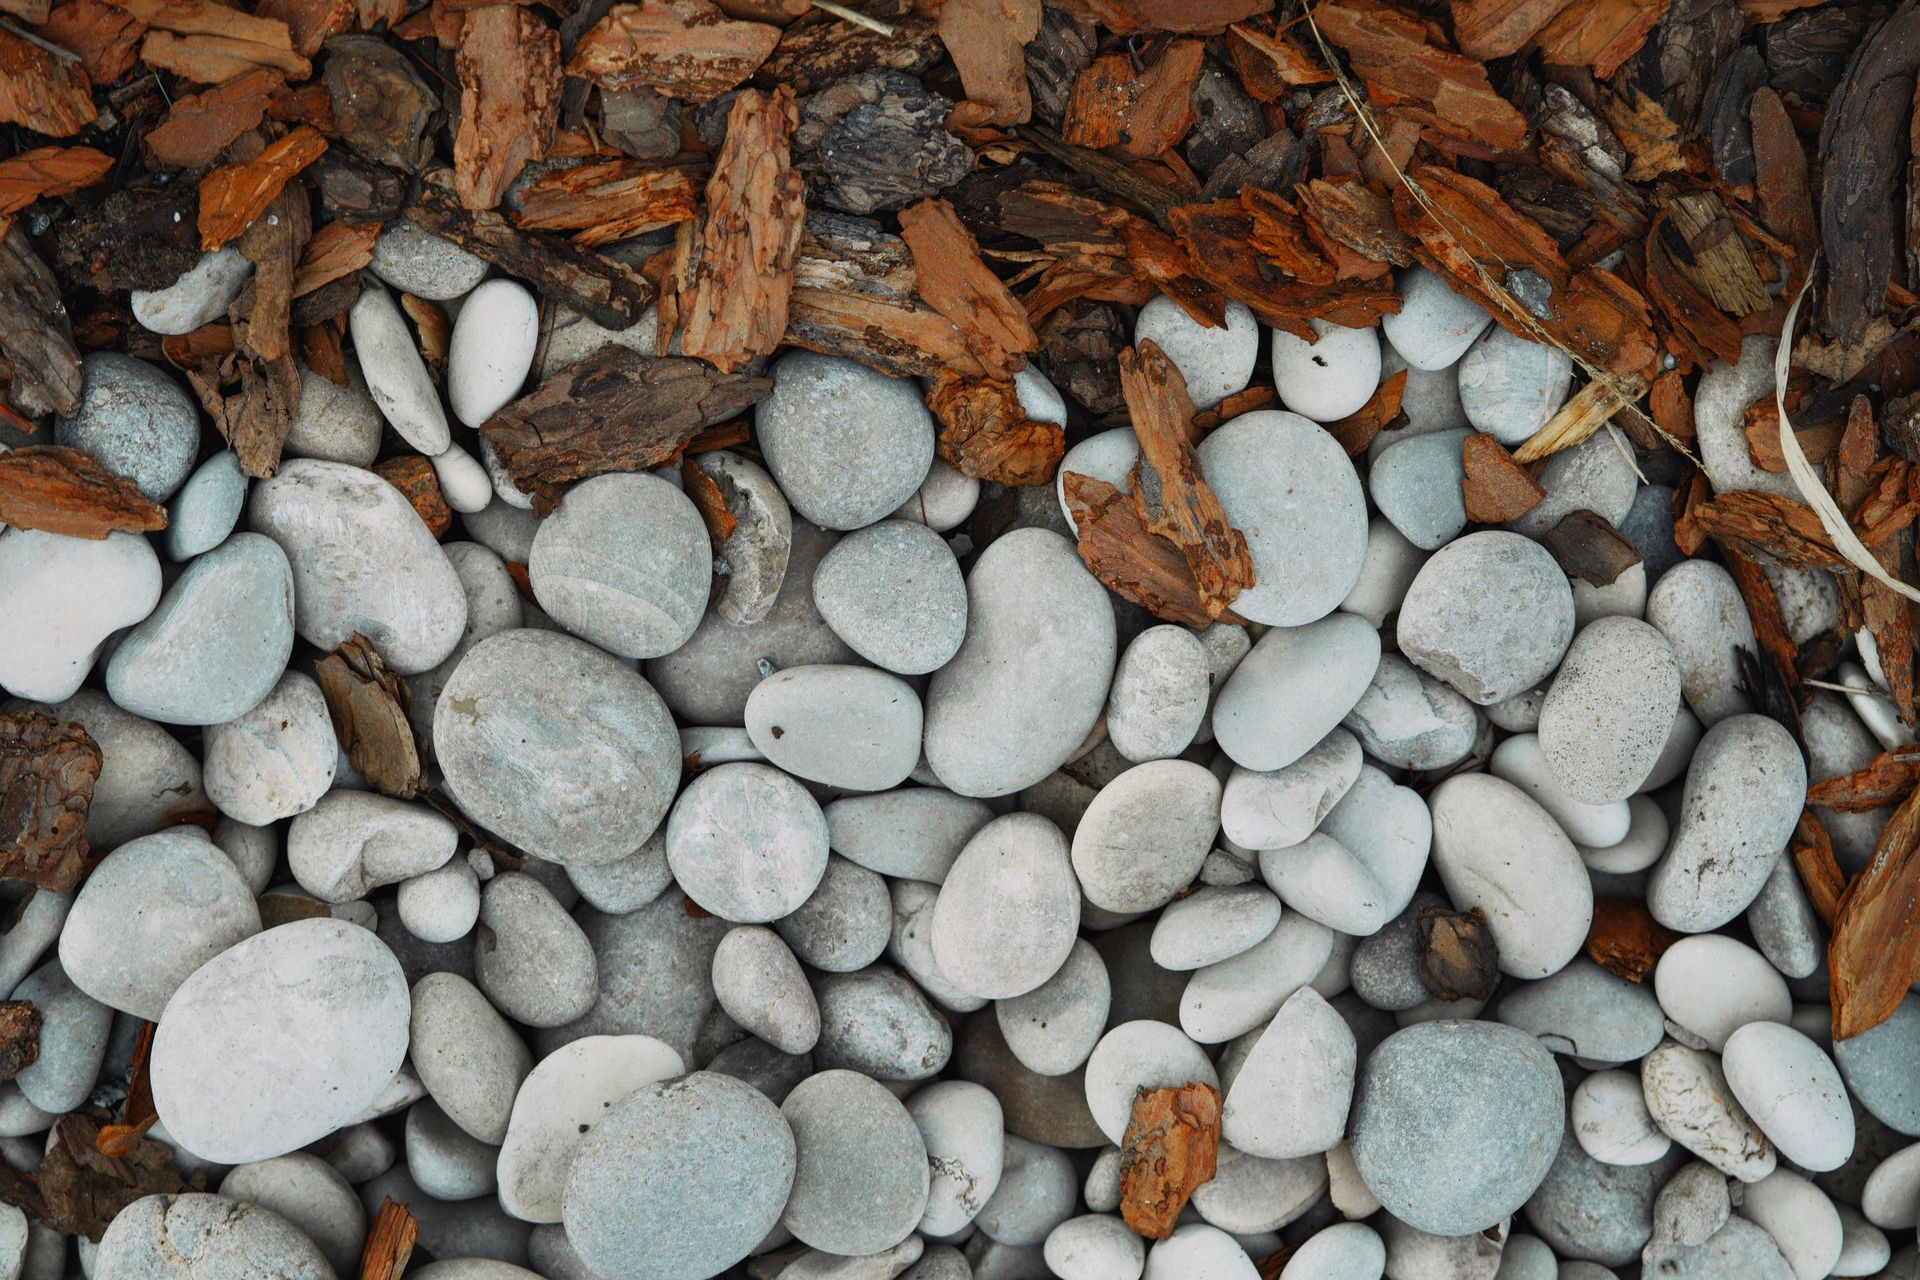
Small decorative gravel, in the 1/4-inch to 3/8-inch range, packs tightly and covers more area per ton, often around 140 square feet at a 2-inch depth. It’s a popular choice for borders that need a clean, finished look without large visible stones.
Medium river rock, around 3/4-inch to 1.5 inches, is a common middle-ground choice for general garden borders. It covers somewhat less area per ton than the smaller gravel, since the pieces are bigger and leave more gaps, but it holds its place better in areas exposed to wind or light rain runoff.
Larger rock, 2 inches and up, makes a bold visual statement and works well for borders that double as erosion control along a slope, but it covers noticeably less area per ton and needs a deeper layer to avoid showing soil through the gaps. A good ballpark is around 50 to 60 square feet per ton for these larger stones, compared to closer to 100 square feet per ton for smaller decorative gravel.
The Trench: A Step People Forget to Plan For
A garden border isn’t just rock sitting on top of grass. Most well-built borders start with a shallow trench, both to define the edge cleanly and to keep grass roots from creeping into the bed. This matters for the calculation because the trench depth and the rock depth aren’t always the same thing.
Many experienced landscapers dig the trench somewhere between 4 inches and 6 inches deep, even if the visible rock layer ends up being only 2 or 3 inches. The extra depth accounts for the landscape fabric, a thin base layer, and the natural settling that happens over the first few weeks.
Skipping this step is one of the most common reasons a freshly laid border starts looking ragged within a season, since without that buried barrier, grass and weeds find their way back in faster than expected.
If a trench is part of the plan, it doesn’t usually change the rock volume calculation much, since the trench itself is often filled partly with landscape fabric and partly with the rock layer.
But it’s worth digging the trench before placing the final order, just to confirm the actual depth and width match what was originally measured. Ground isn’t always perfectly level, and a trench can reveal an extra dip or rise that changes the numbers slightly.
Common Mistakes That Throw Off the Whole Order
After watching enough garden projects go sideways, a few patterns show up again and again, and they’re worth calling out directly.
Forgetting to convert units is probably the most frequent error. Measuring in feet but then plugging inches into the same formula without converting creates wildly wrong totals, sometimes off by a factor of 12. Always double-check that every measurement in the formula is in the same unit, ideally feet, before multiplying anything together.
Skipping the depth step entirely is the second big one. It’s easy to calculate square footage perfectly and then forget that depth needs to be part of the equation at all, which leads to ordering enough rock to cover the area but with almost no actual thickness.
Not accounting for slope is another quiet problem. A sloped border, even a gentle one, holds more rock per square foot than a flat one because gravity pulls material toward the lower edge, which often needs topping up. Adding a small buffer, somewhere around 10 percent, for any border with noticeable slope helps avoid a frustrating shortfall.
And finally, treating an irregular shape as if it were a perfect rectangle. Borders that curve, taper, or wrap around obstacles like trees and patio corners need to be broken into smaller shapes and calculated separately, then added together. Trying to eyeball one average width across an uneven border almost always underestimates the corners and curves where rock naturally piles up thicker.
A Quick Reference for Common Border Sizes
For anyone who wants a rough sense of scale before diving into exact measurements, here’s how a few common border sizes typically work out at a standard 3-inch depth.
A small border, around 20 feet long and 1 foot wide, covers 20 square feet and needs roughly 0.19 cubic yards of rock, which usually rounds up to a quarter yard once a small buffer is added.
A medium border, 50 feet long and 1.5 feet wide, covers 75 square feet and works out to about 0.7 cubic yards, generally ordered as a 3/4 yard load.
A larger border wrapping a sizable yard, say 100 feet long and 2 feet wide, covers 200 square feet and needs close to 1.85 cubic yards, typically rounded up to a full 2 cubic yards to leave margin for settling.
These numbers shift depending on the chosen depth and the size of rock being used, but they give a useful sense of scale before placing an actual order.
Summary
- Garden borders get measured by breaking them into simple shapes, rectangles for straight runs, circles or rings for tree borders, and curved sections measured with rope or twine
- Each shape’s square footage gets calculated separately, then added together for irregular borders
- A depth gets chosen based on rock size and purpose, typically 2 inches for small decorative gravel and 3 to 4 inches for larger stones or high-traffic spots
- The core formula is square footage × depth (in feet) ÷ 27, which gives the total in cubic yards
- A buffer of about 10 percent gets added for curves, slopes, or uneven ground
- Cubic yards convert to tons by multiplying by roughly 1.3, useful when suppliers sell by weight instead of volume
- A trench of 4 to 6 inches deep is recommended before laying rock, to keep grass and weeds from creeping into the border
- Rock size affects coverage, with smaller gravel covering more area per ton than larger decorative stones
- Common mistakes include mixing up units, skipping the depth step, ignoring slope, and treating curved borders as straight lines
- Getting these steps right helps avoid running short mid-project or ending up with leftover rock and no way to use it
Bringing It All Together
Calculating rock for a garden border really comes down to four steps that don’t change no matter how complicated the shape looks at first glance. Measure the area, choose the right depth for the rock size and purpose, run the simple volume formula, and convert into whatever unit the supplier actually sells in.
The hardest part is rarely the math itself. It’s taking the time to measure carefully, account for the trench and the curves, and resist the urge to just estimate by eye. A border that’s been measured properly looks intentional from day one, holds its shape through the seasons, and saves the cost and hassle of a second delivery.
For anyone juggling multiple sections, different rock sizes, or a border with several curves and corners, running the final numbers through a dedicated tool is a smart way to catch any small mistakes before the order goes in. Either way, the groundwork covered here, the measuring, the depth decisions, and the formula itself, is exactly what turns a guess into a plan that actually holds up once the rock is on the ground.
FAQs
How much rock do I need for a garden border?
It depends on the length, width, and depth of the border. Multiply the square footage by the depth in feet, then divide by 27 to get cubic yards. A 30-foot by 1.5-foot border at 3 inches deep needs roughly 0.42 cubic yards.
How deep should rock be for a garden border?
Most garden borders work well with 2 to 4 inches of rock. Smaller decorative gravel needs about 2 inches, while larger stones or high-traffic areas need closer to 4 inches to avoid gaps and shifting.
How do I calculate cubic yards of rock for an irregular border?
Break the border into smaller shapes like rectangles, circles, or triangles, calculate the volume for each section separately, then add the totals together. Adding about 10 percent extra accounts for curves and corners.
Is landscaping rock sold by the ton or by the cubic yard?
Both, depending on the supplier and rock size. Smaller rock is usually sold by the cubic yard, while larger stones (over 3 inches) are often sold by the ton. To convert, multiply cubic yards by roughly 1.3 to estimate tons.
Do I need to dig a trench before adding a rock border?
Yes, most professional installations include a trench 4 to 6 inches deep, even if the visible rock layer is shallower. This keeps grass and weeds from creeping into the bed and helps the border hold its shape longer.