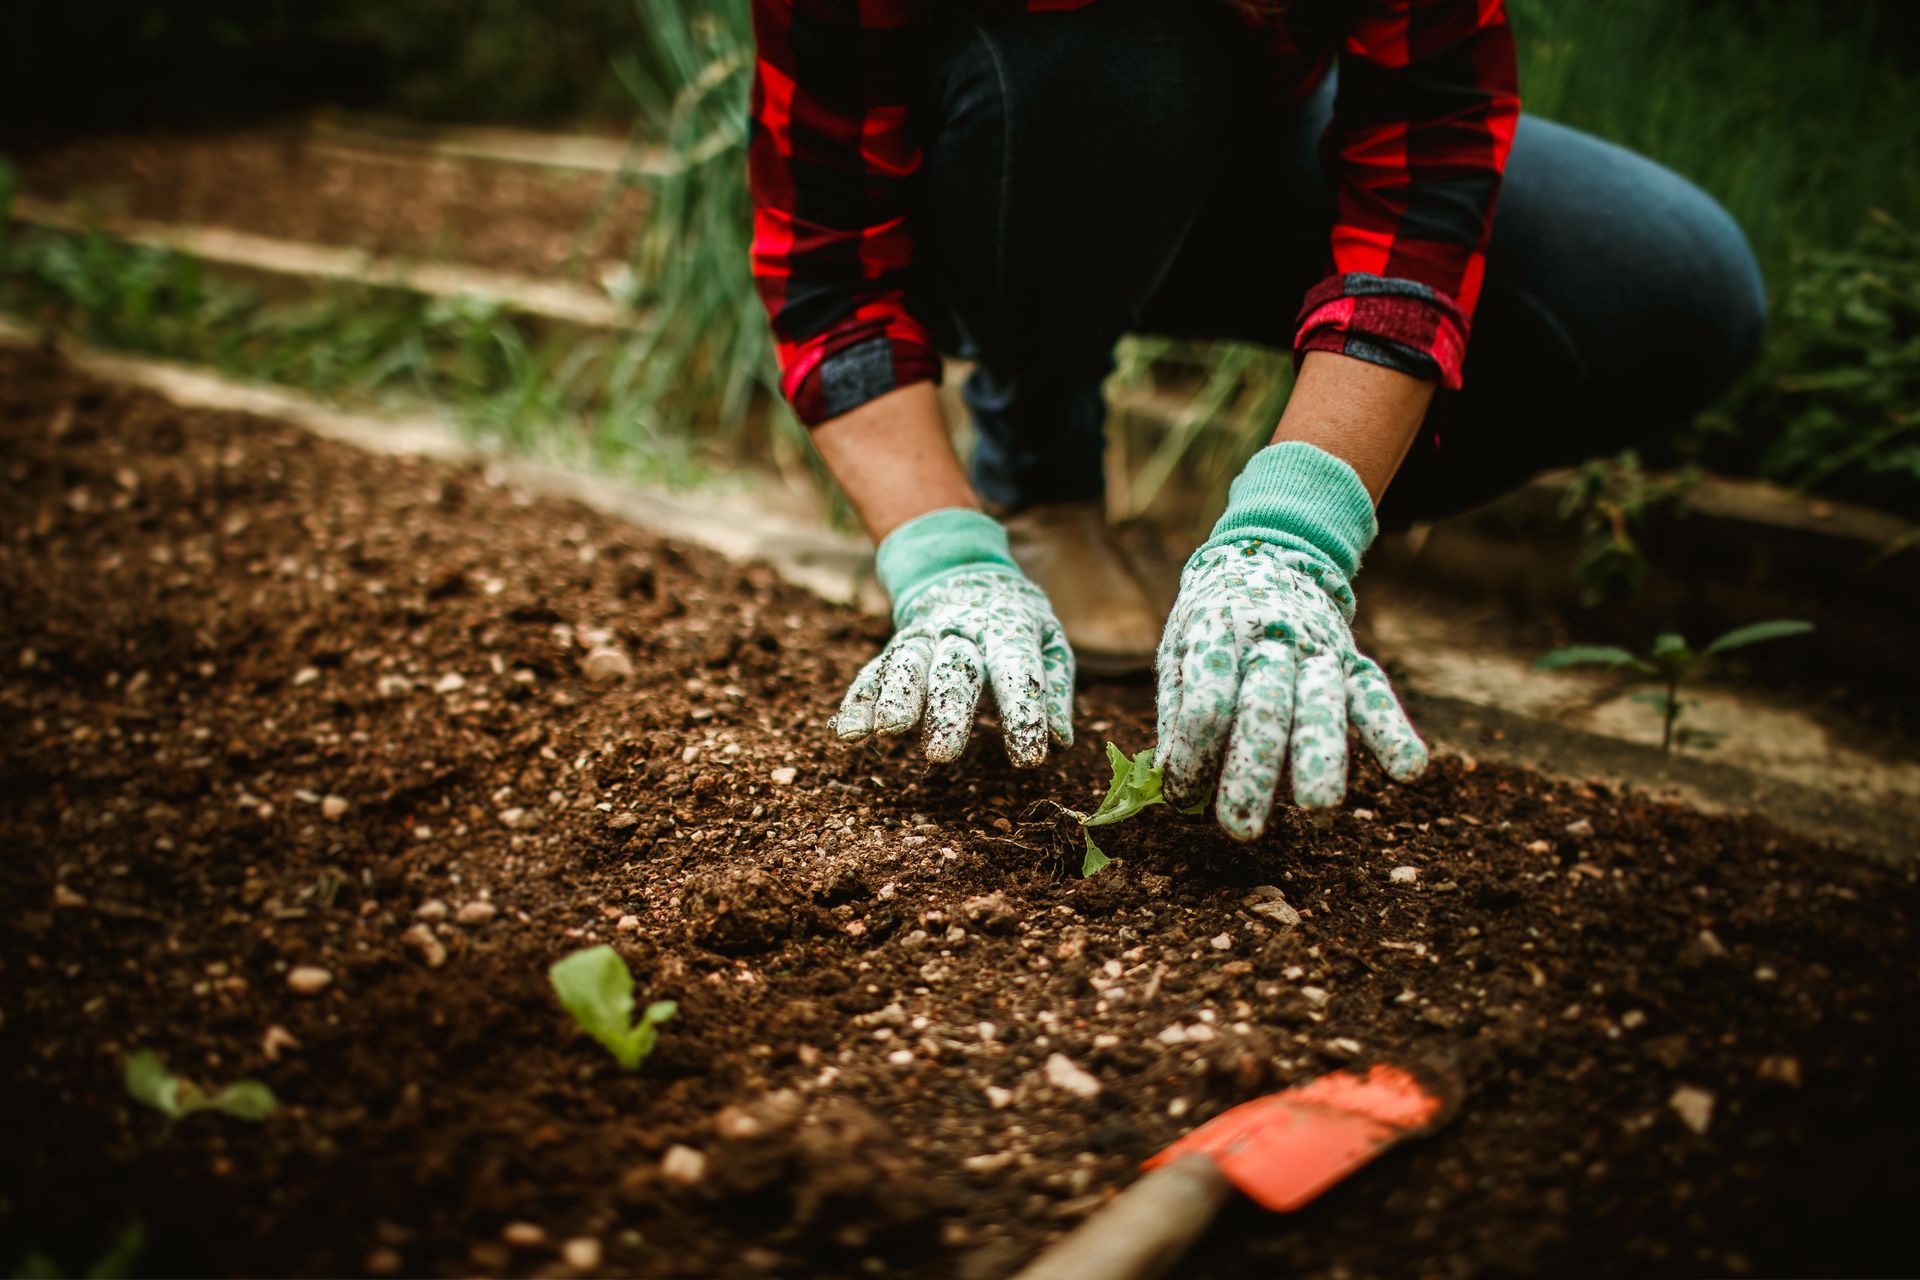
- Fill the bed with a light, well-draining soil mix rather than plain topsoil
- Give the bed at least six hours of direct sun daily
- Check soil moisture daily since metal beds dry out faster than in-ground plots
- Mulch the surface with a 2-inch layer to help retain moisture
- Start with forgiving crops like lettuce, radishes, and herbs before heavier feeders
- Feed the soil every four to six weeks with compost or organic fertilizer
- Watch for overcrowding, poor drainage, and skipped soil tests
- Take notes throughout the season to make year two easier
Setting up a metal raised bed for the very first time feels a bit like moving into a new house. Everything is clean, empty, and full of promise, but nobody hands over an instruction manual for what happens next. Most gardeners spend their first season learning through trial and error, and honestly, that is completely normal.
This guide pulls together the lessons that experienced raised bed growers have picked up over many seasons, so the learning curve feels a little less steep and a lot more enjoyable.
Why the First Year Really Sets the Tone
The first growing season in a brand-new bed is unlike any other year that follows. The soil has not settled yet, the microbial life is still building itself up, and the metal walls of the bed are still adjusting to temperature swings for the first time. Many new gardeners assume that once the bed is filled and planted, the hard work is done. In reality, the first year is more about observation and gentle correction than aggressive gardening.
A helpful way to think about it is this: the bed is a brand-new ecosystem, and ecosystems need time to find balance. Worms have not moved in yet. Beneficial fungi have not spread through the root zone. Rainwater has not yet taught the gardener how quickly (or slowly) the bed drains. Every one of these things becomes clearer only through a full season of watching and adjusting.
Getting the Soil Foundation Right From Day One
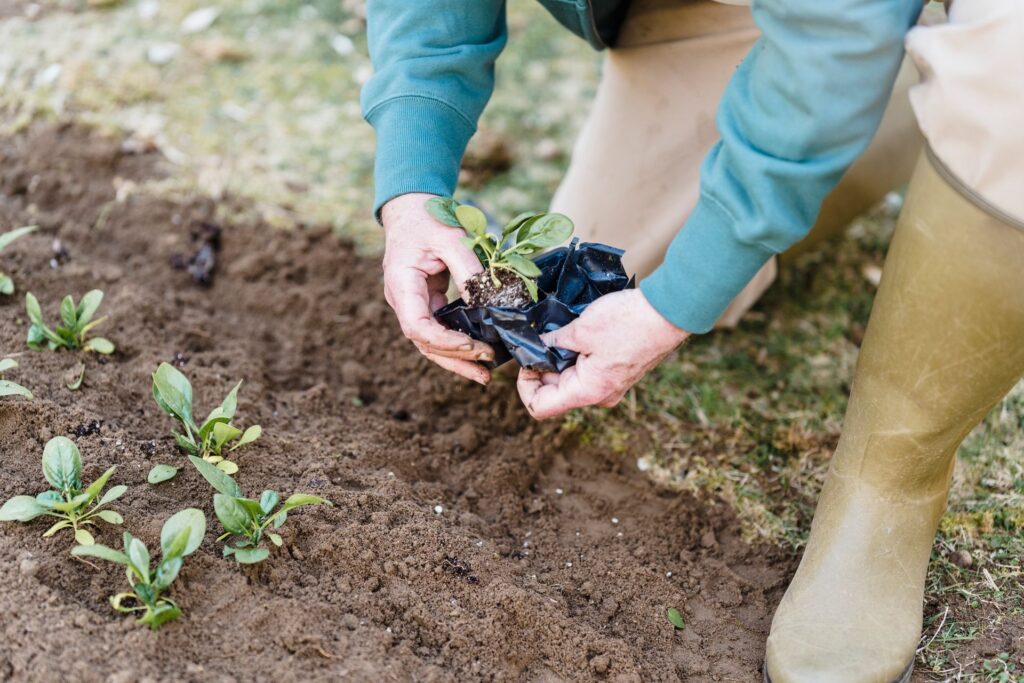
Nothing matters more in year one than the quality of the soil sitting inside the bed. A raised bed is essentially a container, and containers do not have the natural buffering that in-ground soil enjoys. That means whatever goes in at the start has an outsized effect on how plants perform for months to come.
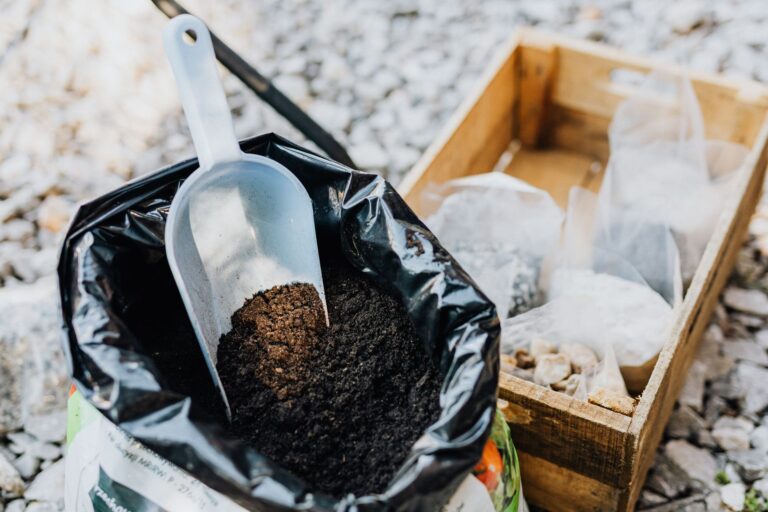
A common mistake new gardeners make is filling the bed with plain topsoil or garden soil bought in bulk. This soil compacts quickly inside a raised structure and does not drain the way raised bed plants need it to. Instead, a blended mix of high-quality compost, aged manure, and a loose aggregate like perlite or coarse sand tends to perform far better. This blend keeps the soil light, allows roots to breathe, and holds moisture without turning soggy.
Because every bed is a different size, figuring out exactly how much material to buy can get confusing fast. This is where a soil volume guide becomes genuinely useful, since it removes the guesswork of converting bed dimensions into cubic feet or yards of material. Instead of eyeballing it and either overordering or running short halfway through filling the bed, a quick calculation saves both money and a wasted trip to the garden center.
Choosing a Soil Mix That Actually Supports Root Growth
Soil mix and soil volume are two different puzzles, and both need solving before the first seed goes into the ground. Volume tells a gardener how much material is needed. Mix ratio tells them what that material should actually be made of.
A well-balanced raised bed mix generally leans on three components working together. Compost brings nutrients and biological activity. A moisture-retentive base like coconut coir or peat moss keeps the root zone from drying out too fast during hot afternoons. And a coarse material such as perlite or vermiculite keeps everything from compacting into a dense, airless block.
For anyone unsure of the exact ratios, a proven mix recipe designed specifically for metal raised beds can save a full season of trial and error. Getting this recipe right in year one means the bed will need far less amending going forward, which is a huge relief for anyone who would rather spend their weekends harvesting tomatoes than hauling bags of compost.
It is worth mentioning that Vego Garden beds, because of their taller wall height compared to standard wooden raised beds, actually need a bit more volume than gardeners expect. Skimping on fill depth is one of the most common first-year regrets, so it pays to be generous rather than conservative when filling the bed for the first time.
Understanding Bed Depth Before Anything Gets Planted
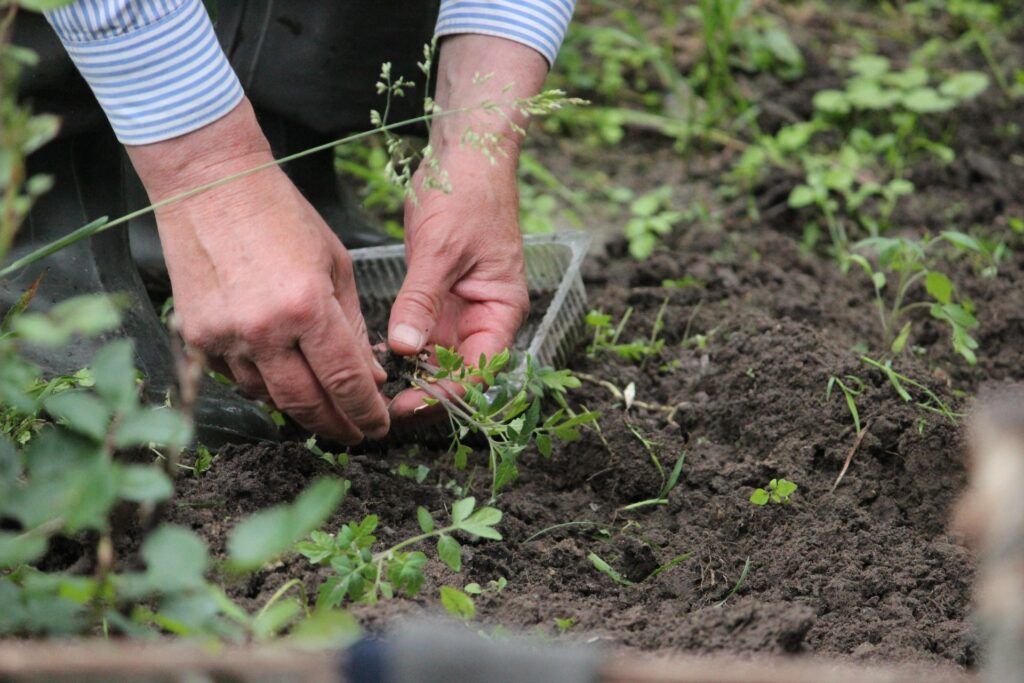
Depth is one of those details that seems minor until root vegetables start struggling to size up properly. Shallow soil restricts root development, limits water storage, and forces plants to compete for the same narrow band of nutrients. Vego Garden beds come in different height options, and choosing the right one — or filling an existing bed to the correct level — makes a measurable difference in plant health.
Leafy greens and herbs can get by with relatively shallow soil, often around 8 to 10 inches. But anything with a deep taproot, like carrots, or heavy feeders like tomatoes and squash, really benefit from 12 to 18 inches of good soil.
Anyone still deciding on bed height, or wondering how deep their existing bed needs to be filled, will find it worth checking a detailed breakdown of recommended depth requirements before finalizing their planting plan. Getting this number right in year one prevents a lot of disappointment come harvest time.
Watering Habits That Make or Break the First Season
Metal raised beds behave differently from in-ground gardens when it comes to moisture. Because the bed is elevated and surrounded by metal walls, it tends to dry out faster than a traditional garden plot, especially during the first few weeks after filling, when the soil has not yet developed the organic structure needed to hold water efficiently.
A helpful first-year habit is checking soil moisture with a simple finger test each morning before watering. Sticking a finger about 2 inches into the soil reveals whether the bed actually needs water or is still holding moisture from the day before. Overwatering in the first season is just as damaging as underwatering, since soggy soil in a new bed can suffocate young roots before they have a chance to establish.
Mulching the surface with straw, shredded leaves, or untreated wood chips right after planting helps regulate this moisture swing dramatically. A 2-inch layer of mulch slows evaporation, keeps soil temperature more stable, and reduces how often watering is needed, which is especially helpful for anyone who cannot check on their garden every single day.
Sunlight and Bed Placement Lessons Learned the Hard Way
Many first-time raised bed gardeners place their bed based on convenience rather than sunlight, and this decision often haunts them by midsummer. Most vegetables need at least six hours of direct sun daily to produce well, and fruiting plants like tomatoes, peppers, and squash often perform best with eight hours or more.
Before finalizing bed placement, it helps to track sunlight patterns across a full day, since shadows from fences, trees, or buildings shift throughout the season. A spot that looks sunny in April might fall into shade by July once nearby trees fill out with leaves. Metal beds also absorb and reflect heat differently than wood, so in especially hot climates, positioning the bed where it gets a bit of afternoon relief from intense sun can prevent roots from overheating.
What to Plant During the First Growing Season
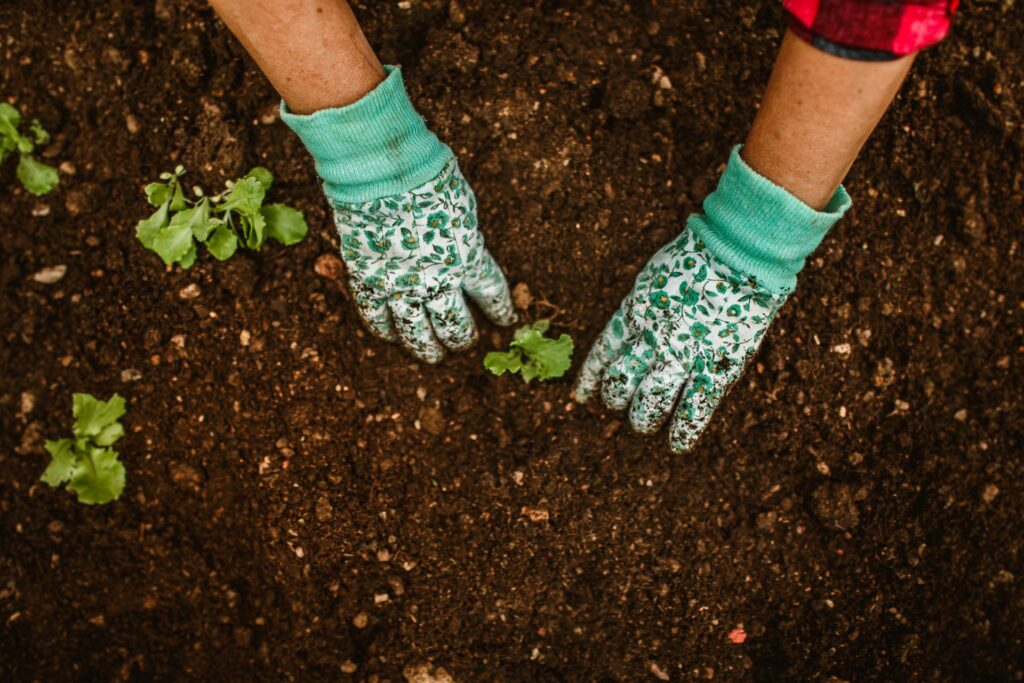
The first year is a great time to keep plant choices relatively forgiving. Fast-growing, low-maintenance crops build confidence and give quick feedback about how the bed is performing, long before more demanding plants are introduced.
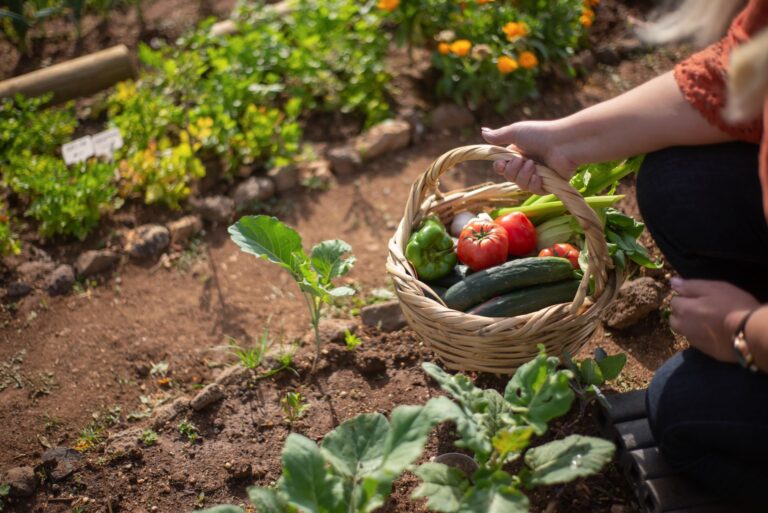
Leafy greens such as lettuce, spinach, and Swiss chard are excellent starter crops because they mature quickly and tolerate minor mistakes in watering or feeding. Radishes are another forgiving option, often ready for harvest in under 30 days, which makes them a satisfying first success story for new gardeners.
Once the bed has proven itself with a round of easier crops, gardeners often move on to tomatoes, peppers, cucumbers, and squash. These plants are more sensitive to inconsistent watering and nutrient gaps, so it helps to have a season of experience with the bed’s behavior before relying on it for a full harvest of these heavier feeders.
Companion planting is also worth exploring in year one. Pairing basil near tomatoes, or marigolds along the bed’s border, can help deter certain pests naturally while making efficient use of the available space inside a Vego Garden’s compact footprint.
Common First-Year Mistakes Worth Avoiding
A few mistakes show up again and again among new raised bed gardeners, and knowing about them ahead of time can save a lot of frustration.
Overcrowding is probably the most frequent misstep. New gardeners often underestimate how large plants will grow and end up packing too many seedlings into a small space. This leads to poor air circulation, increased disease risk, and smaller yields overall, since plants end up competing for the same nutrients and sunlight.
Another common issue is skipping a soil test before planting. Even high-quality bagged soil can have an imbalanced pH or missing micronutrients. A basic soil test, which many local extension offices offer for a small fee, gives a clear picture of what the bed actually needs before problems show up in the plants themselves.
Ignoring drainage is a third pitfall. Metal beds need proper drainage holes, and if the bed sits directly on a hard surface like concrete or pavers, water can pool at the base rather than escaping properly. Elevating the bed slightly with feet or blocks, or adding a layer of coarse gravel at the bottom before filling with soil, helps prevent this problem entirely.
Feeding the Soil as the Season Progresses
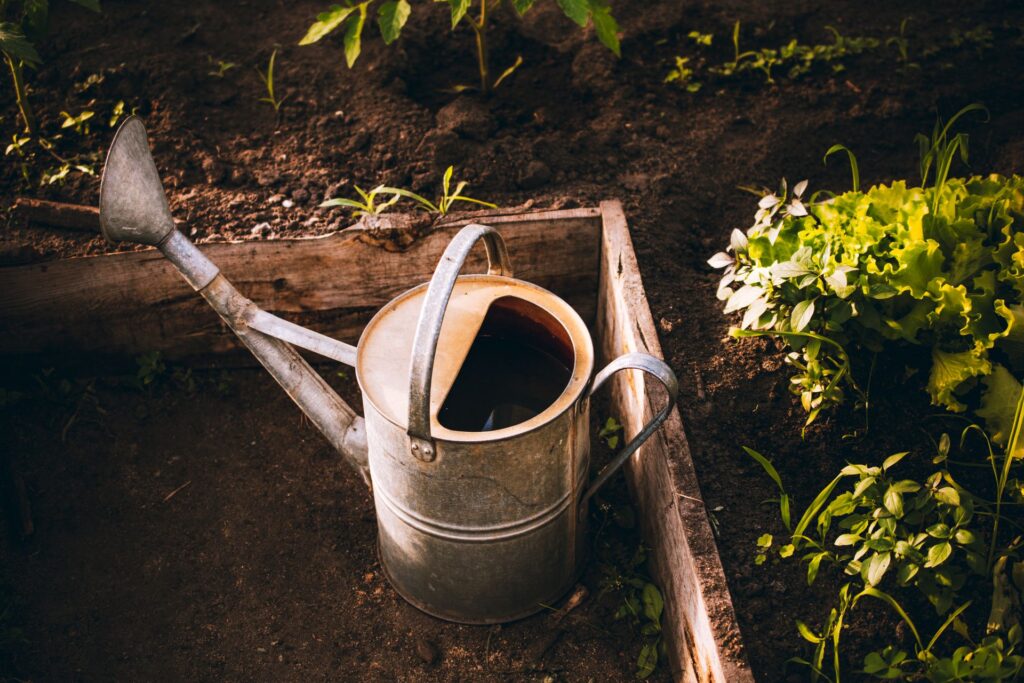
Even with a great starting mix, plants pull nutrients out of the soil as they grow, and a raised bed does not have the same nutrient reserves as a large in-ground garden. By midseason, many first-year beds start showing signs of nutrient depletion, like pale leaves or slower growth.
A simple monthly feeding with compost tea or a balanced organic fertilizer keeps plants supplied without overwhelming them with synthetic nutrients. Side-dressing with a thin layer of fresh compost every four to six weeks also works well, especially for heavy feeders like tomatoes and squash that are actively producing fruit through the warmer months.
Sticking close to the same best soil mix ratios used at planting time, rather than switching to random amendments midseason, tends to keep the bed’s chemistry balanced and predictable.
It is worth resisting the urge to over-fertilize, though. New gardeners sometimes assume more feeding always means better growth, but excess nitrogen in particular can push plants toward lush leafy growth at the expense of flowers and fruit. Moderation, paired with regular observation, tends to produce the healthiest results.
Handling Pests and Unexpected Weather
Every first-year bed eventually faces some kind of challenge, whether that is aphids on new growth, a surprise heat wave, or an unexpected late frost. The key is responding calmly rather than panicking at the first sign of trouble.
For pests, starting with the least invasive solution usually works best. A strong blast of water can knock aphids off leaves, while a light application of insecticidal soap handles more stubborn infestations without harming beneficial insects like ladybugs and bees. Row covers offer a physical barrier against many common pests and are especially useful for protecting young seedlings during their most vulnerable weeks.
Weather swings are trickier to control but not impossible to manage. Shade cloth can protect plants during unexpected heat spikes, while a simple frost cloth or even an old bedsheet can shield tender plants during a surprise cold snap. Because metal beds heat up and cool down faster than the ground, keeping an eye on the forecast during the first season helps gardeners react quickly when temperatures swing outside the normal range.
Preparing the Bed for a Strong Second Year
As the first season winds down, what happens next matters almost as much as what happened during the growing months. Leaving spent plants in place to break down naturally adds organic matter back into the soil, but removing anything diseased or pest-infested prevents problems from carrying over into next year.
Topping off the bed with a fresh layer of compost before winter replenishes nutrients that were used up during the season. Since soil naturally settles and compacts over a full growing season, running the numbers through the Vego Garden Calculator before buying more material helps figure out exactly how much fresh soil is needed to top the bed back up properly. Planting a cover crop, like clover or winter rye, is another option that experienced gardeners often rely on, since it protects the soil from erosion and adds organic material once it is turned under in spring.
Taking notes during this wind-down period is one of the most underrated first-year habits. Jotting down what grew well, what struggled, how often watering was needed, and which spots in the bed seemed to perform better than others creates a personal reference guide that makes the second season noticeably easier.
Building a Simple Weekly Routine
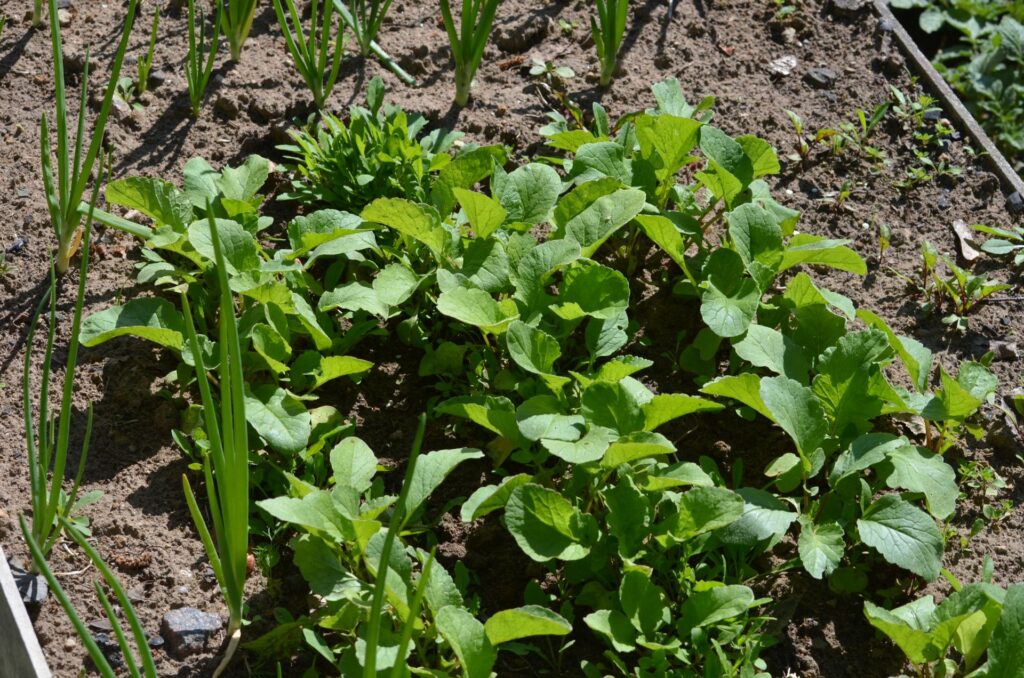
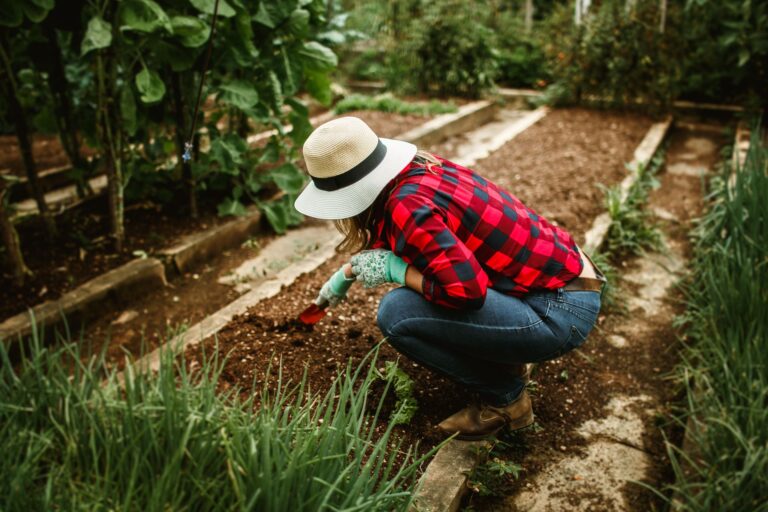
One thing that separates a thriving first-year bed from a struggling one is not luck, it is consistency. Gardeners who check in on their bed a few times a week, even briefly, tend to catch small problems before they turn into bigger ones. A wilting leaf spotted on Monday is easy to fix. The same problem left unnoticed until the following weekend can mean a lost plant.
A simple weekly routine does not need to be complicated. Walking the length of the bed with a cup of coffee in hand, checking leaf color, looking for chewed edges or tiny eggs on the underside of leaves, and feeling the soil surface for moisture takes only a few minutes but pays off enormously over the course of a season.
Many experienced growers keep a small notebook or a note on their phone to jot down quick observations, like when the first tomato flower appeared or when a sudden dry spell required extra watering.
Pruning is another task that benefits from a light weekly touch rather than a big overhaul. Removing yellowing leaves, pinching off suckers on tomato plants, and thinning out overcrowded seedlings all help the bed use its energy more efficiently. None of these tasks take long individually, but skipping them for weeks at a time often leads to a tangled, overgrown bed that is harder to manage and less productive overall.
Rotating which side of the bed gets attention first each week is a small habit that helps too, since it is easy to unconsciously favor the section closest to the path and neglect the far corners. A raised bed, especially one with the generous footprint of a Vego Garden, rewards gardeners who give equal attention to every section rather than focusing only on the most visible plants.
By the middle of the season, this weekly rhythm usually becomes second nature. What once felt like a chore turns into one of the more relaxing parts of the week, a quiet fifteen minutes spent outside away from screens and schedules, simply paying attention to how things are growing.
Summary
- The first year in a new Vego Garden bed is mainly about observation and gentle correction, not aggressive gardening
- Soil quality matters more than anything else, since raised beds don’t have the natural buffering of in-ground soil
- A blended mix of compost, aged manure, and a loose aggregate like perlite drains and breathes far better than plain topsoil
- Vego Garden beds need more fill volume than expected due to their taller wall height
- Bed depth affects root development directly — leafy greens need 8 to 10 inches, while heavy feeders need 12 to 18 inches
- Metal beds dry out faster than in-ground gardens, so daily moisture checks and mulching are essential
- The bed needs at least six hours of direct sun, and placement should be checked across a full day before planting
- Starting with forgiving crops like lettuce, radishes, and herbs helps build confidence before growing heavier feeders
- Common first-year mistakes include overcrowding, skipping soil tests, and ignoring drainage
- Monthly feeding with compost or organic fertilizer keeps nutrients balanced without overdoing nitrogen
- A simple weekly routine of checking, pruning, and rotating attention across the bed prevents small problems from growing
- Preparing the bed at season’s end with fresh compost, cover crops, and notes sets up a stronger second year
Final Thoughts
A first year with a new Vego Garden bed is really a season of learning the personality of that specific space. No two beds behave exactly alike, even when they are the same size and filled with the same soil mix, because sunlight, wind exposure, and local climate all shape how plants respond.
Patience matters more than perfection in these early months, and small adjustments along the way tend to matter far more than getting everything right from day one.
By paying attention to soil quality, watering rhythm, sunlight patterns, and plant choices, most first-year gardeners find that their bed starts to feel less like an experiment and more like a reliable, productive part of their home by the time the second season rolls around.
The lessons learned in year one, even the frustrating ones, become the foundation for many successful harvests to come.
FAQs
How deep should soil be in a Vego Garden bed for the first year?
Leafy greens and herbs do fine with 8 to 10 inches of soil, but heavy feeders like tomatoes and squash need 12 to 18 inches for proper root development. Since Vego Garden beds have taller walls than standard wooden beds, it’s best to fill them generously rather than skimp on depth.
How often should a new Vego Garden bed be watered?
Metal beds dry out faster than in-ground gardens, so a daily finger test works well — if the top 2 inches feel dry, it’s time to water. Adding a 2-inch layer of mulch also helps slow evaporation and keeps watering more consistent.
What is the best soil mix for a new raised bed?
A good mix combines compost for nutrients, a moisture-retentive base like coconut coir, and a coarse material like perlite to prevent compacting. This blend drains well while still holding enough moisture for healthy root growth.
What vegetables are best to plant in a raised bed’s first year?
Fast-growing crops like lettuce, spinach, and radishes make great starters, since they mature quickly and tolerate minor mistakes. Radishes are often ready in under 30 days, making them a satisfying early win before moving on to tomatoes and peppers.
How much sunlight does a raised garden bed need?
Most vegetables need at least six hours of direct sun daily, while fruiting plants like tomatoes often do best with eight hours or more. It helps to track sunlight patterns across a full day before finalizing bed placement, since shade shifts as trees fill out.