- To measure a garden area correctly, identify the shape of your space, use a measuring tape to record the key dimensions, and apply the right formula to calculate the total square footage.
- Rectangle/Square: Multiply length × width
- Triangle: Multiply base × height, then divide by 2
- Circle: Multiply π (3.14) × radius²
- Irregular shapes: Divide into smaller simple sections, calculate each one separately, then add them together
- Curved edges: Use string to trace the border, then measure the string
- Always subtract the area of obstacles like sheds, ponds, or tree bases from your total
- Double-check your figures using a digital calculator tool before ordering materials
There is something deeply satisfying about standing at the edge of a garden with a measuring tape in hand, ready to figure out exactly what you are working with. Whether someone is planning a brand-new landscaping project, ordering mulch or gravel, or simply trying to understand how much grass seed they need, getting the measurements right from the very beginning saves a lot of time, money, and frustration down the road.
Many gardeners have experienced the frustration of ordering too little material and having to make a second trip to the store, or worse, ordering too much and wasting money on supplies that just sit unused.
The good news is that measuring a garden area correctly is not a complicated process. It just takes a little patience, the right tools, and a basic understanding of a few simple formulas.
This guide walks through everything someone needs to know to measure their garden area with confidence, no matter what shape that garden happens to be.
Why Getting Garden Measurements Right Matters So Much
Before diving into the how-to portion, it helps to understand why accurate measurements make such a big difference. When someone knows the exact size of their garden space, they can calculate how much soil, mulch, fertilizer, seed, or rock they need with real precision.
Experienced gardeners and landscapers have learned over the years that even being off by just 10% in their calculations can mean spending an unnecessary $50 to $200 more on materials than needed, or ending up short and having to delay a project by days. For a small backyard project, that might seem minor. But for a large garden renovation, the financial impact of poor measurements adds up quickly.
Accurate measurements also matter when it comes to spacing plants correctly. Most plants need a specific amount of room to grow, and crowding them together because the space was misjudged leads to poor growth, disease, and an overall less attractive garden. Getting the numbers right from day one sets the entire project up for success.
There is also a practical benefit when it comes to budgeting. Garden projects have a way of expanding in scope once they are underway, and knowing the exact square footage of a space helps gardeners set realistic cost expectations from the start.
Suppliers quote prices per square foot or per cubic yard, and without an accurate area figure, it is nearly impossible to build a reliable budget. Accurate measurement is, in many ways, the financial foundation of any successful garden project.
Understanding the difference between perimeter and area is another point worth mentioning here. Perimeter is the total distance around the outside edge of a garden, while area is the total surface space inside those edges. These are two completely different measurements used for different purposes. Perimeter matters when installing edging, fencing, or border materials.
Area matters when calculating how much mulch, soil, fertilizer, or seed to purchase. Many first-time gardeners confuse the two, and knowing which one applies to each situation prevents a lot of costly ordering mistakes.
The Tools Needed Before Starting
Getting a good measurement does not require expensive equipment. Most of what is needed is already available in an average home or can be picked up cheaply at any hardware store. Here is what experienced gardeners typically use:
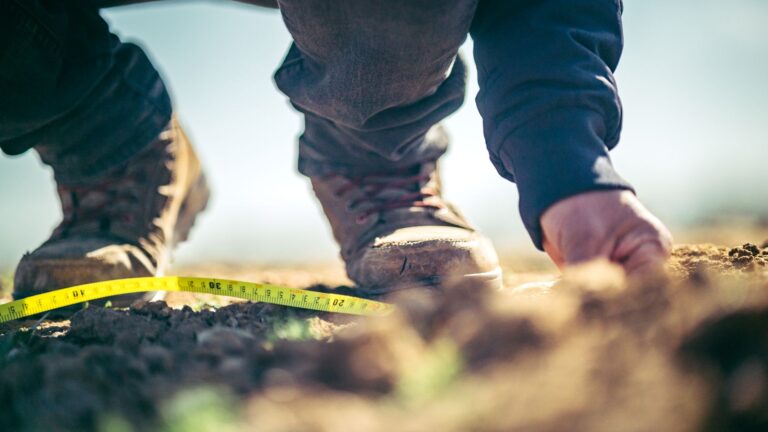
- A long measuring tape — at least 25 to 50 feet for most garden spaces. A retractable steel tape works best because it holds its shape along long distances.
- Garden stakes or flags — these help mark corners and reference points, especially in irregularly shaped gardens.
- A notepad and pencil — writing down measurements as they are taken prevents mistakes from relying on memory.
- String or twine — useful for marking boundaries and straight lines across curved areas.
- A calculator — for working out the math once the raw measurements are recorded.
Some gardeners also use a measuring wheel for very large spaces, which rolls along the ground and counts the distance automatically. For anyone managing a larger property, this tool is worth the investment.
Step One — Sketch the Garden Shape First
Before pulling out the measuring tape, the smartest first move is to sketch the garden on paper. This does not have to be an artistic masterpiece. A rough outline that captures the general shape, the location of any existing trees, structures, or beds, and where the borders fall is all that is needed.
Sketching first gives a clear picture of which measurements to take and in what order. It also helps identify whether the garden is a simple rectangle, an irregular polygon, a curved shape, or a combination of shapes — which determines the formula that will be used later.
Experienced landscapers always do this before picking up a measuring tape. It saves time and prevents the embarrassing situation of getting partway through a measurement and realizing a key reference point was missed.
Step Two — Identify the Shape of the Garden
The shape of the garden determines which measurement formula to use. Most garden areas fall into one of these common categories:
Rectangular and Square Gardens
These are the simplest and most common garden shapes. Rectangular lawns, vegetable beds, and bordered flower areas almost always follow a clean four-sided layout.
To measure a rectangular garden, take the length along one side and the width along the perpendicular side. Multiply these two numbers together to get the total area.
Formula: Area = Length × Width
For example, a garden that measures 20 feet long and 10 feet wide has an area of 200 square feet. Simple and straightforward.
For a square garden, the same formula applies — it is just that all four sides are equal, so only one side measurement is technically needed.
Triangular Gardens
Some garden areas form a triangle, especially corner gardens or oddly shaped yard sections. To measure a triangular garden, find the base (the longest flat side) and the height (the perpendicular distance from the base to the opposite tip).
Formula: Area = (Base × Height) ÷ 2
A triangular corner bed with a base of 12 feet and a height of 8 feet would have an area of 48 square feet.
Circular Gardens
Round garden beds, pond surrounds, and tree ring areas require a different approach. The key measurement here is the radius, which is the distance from the very center of the circle to its outer edge. If measuring the full width across the middle is easier (the diameter), just divide that number in half to get the radius.
Formula: Area = π × Radius²
Using 3.14 as the value of π, a circular bed with a radius of 5 feet has an area of approximately 78.5 square feet.
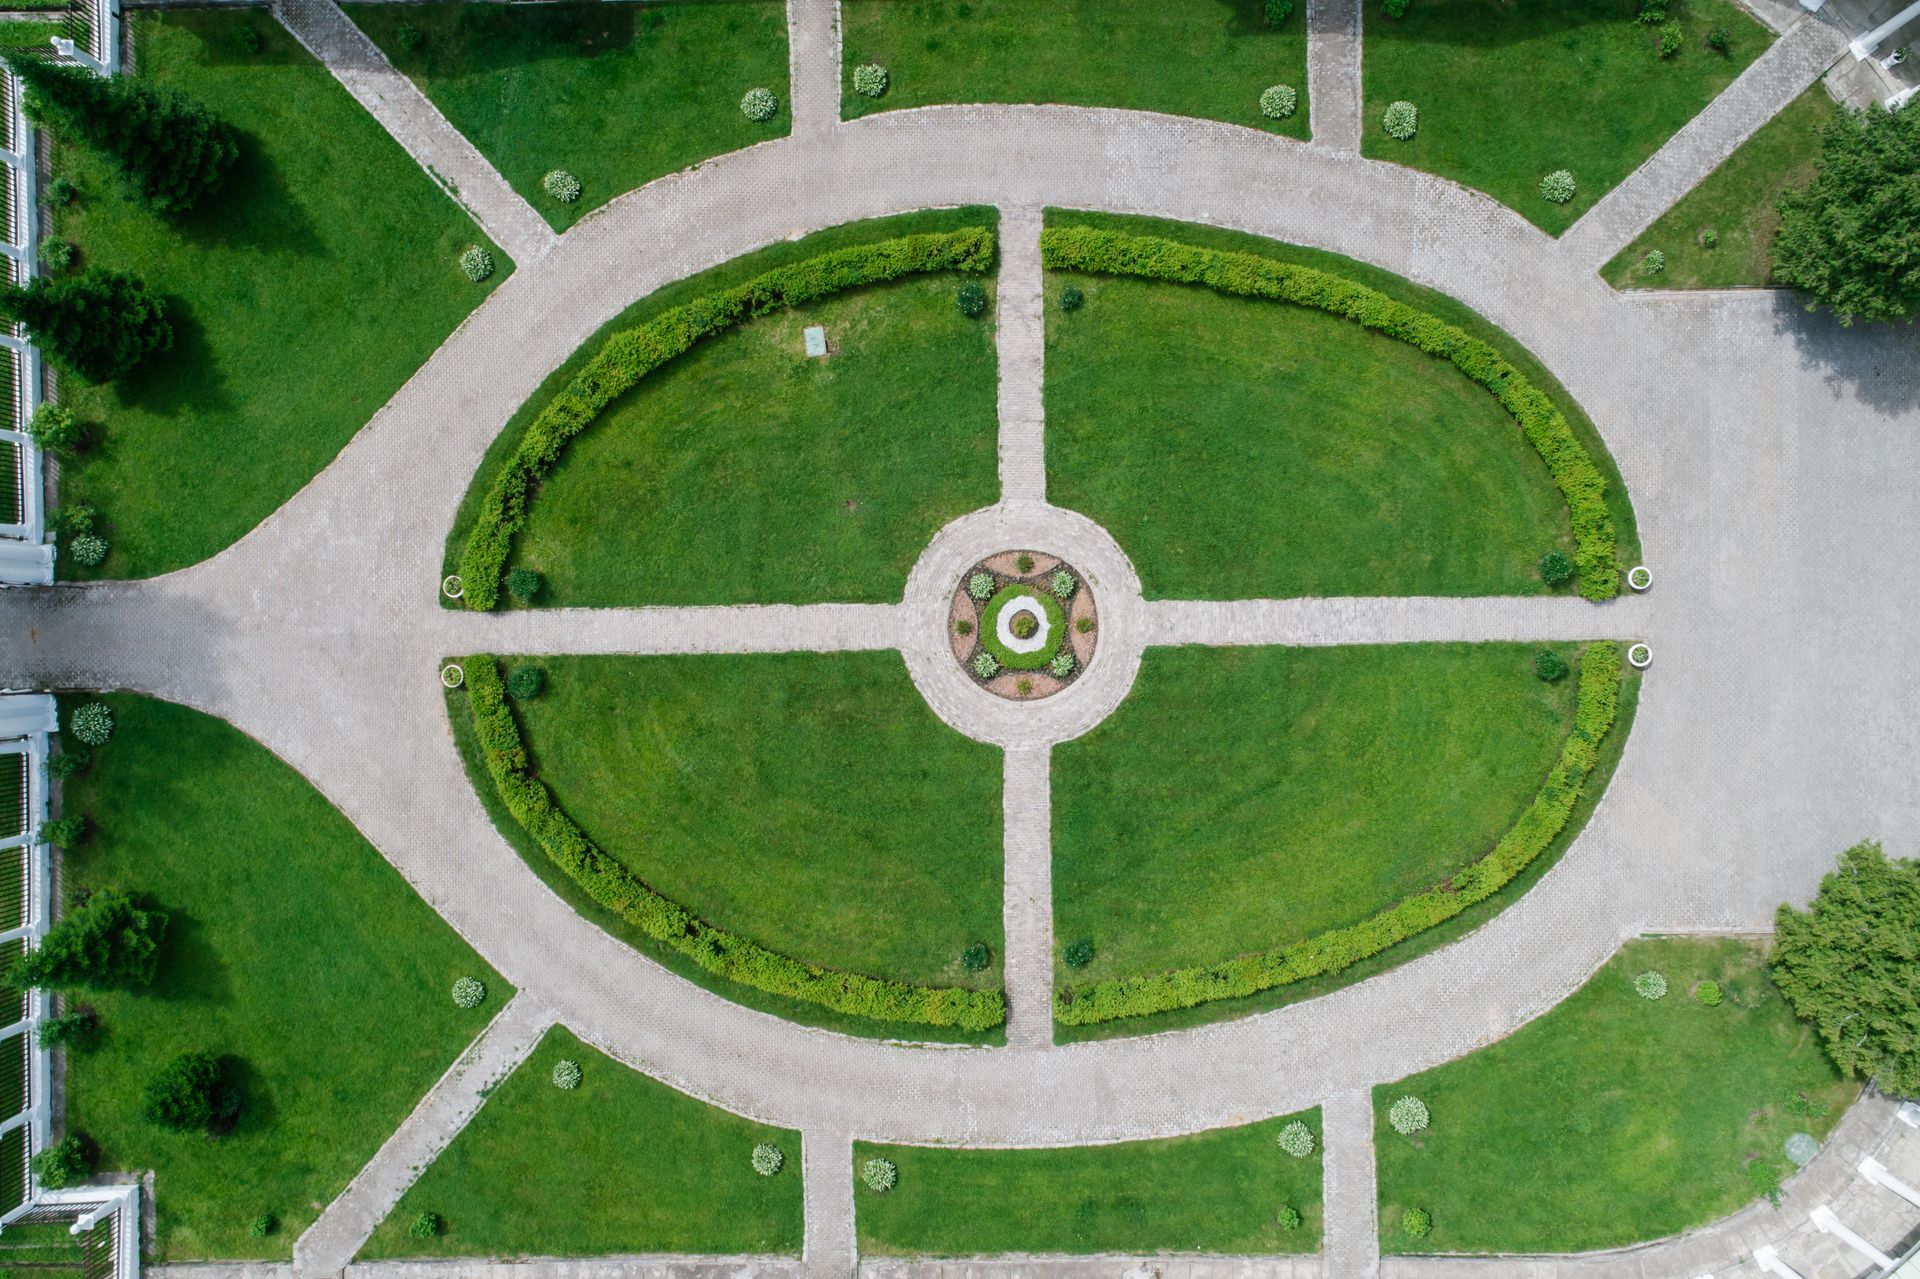
Oval or Elliptical Gardens
Oval beds are a little trickier but not much. Measure the longest distance across the oval (the major axis) and the shortest distance across it (the minor axis). Divide each by 2 to get the two radii, then multiply them together along with π.
Formula: Area = π × Radius A × Radius B
Step Three — Handle Irregular Shapes with Confidence
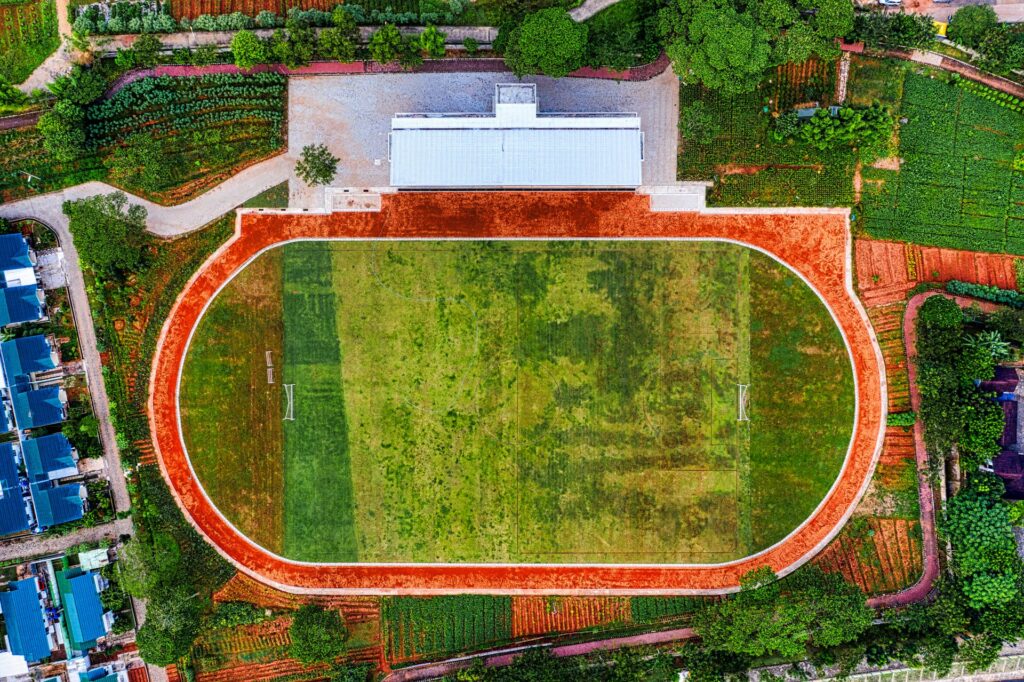
Not every garden fits neatly into a square or circle. Many real-world gardens have curving borders, jutting corners, or odd shapes that do not match any single formula. The best approach here is to divide the space into smaller, simpler sections.
Imagine a garden shaped roughly like the letter L. Instead of trying to measure the whole thing at once, divide it into two rectangles. Measure each rectangle separately, calculate the area of each one, and then add the two areas together.
This divide-and-conquer approach works for almost any irregular garden shape. The key is to break the overall outline into shapes that are easy to measure — rectangles, triangles, and circles — and then combine the results.
Some gardeners find it helpful to use string or garden stakes to physically mark where the imaginary dividing lines are, making it easier to measure each section cleanly.
Step Four — Measure Curved Garden Edges
Curved borders add beautiful character to a garden, but they require a slightly different measurement technique. The easiest method is to use the string method.
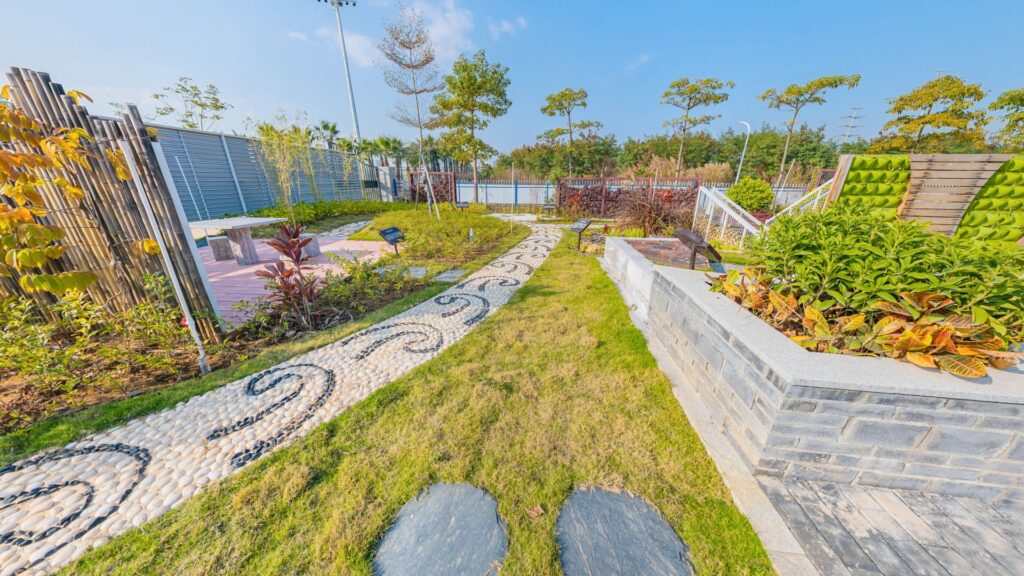
Lay a piece of string along the entire curve of the garden border, following its exact path. Once the string traces the full edge, pull it straight and measure the total length with a tape. This gives the perimeter of the curved section.
For calculating the area, treat the space inside the curve as an approximate shape — usually a rough circle segment or an irregular polygon — and use the relevant formula.
Another option is to mark several evenly spaced points along the curve and measure short, straight segments between them. Adding up all those short measurements gives a close approximation of the total curved length. The more points used, the more accurate the result.
Step Five — Account for Obstacles and Exclusions
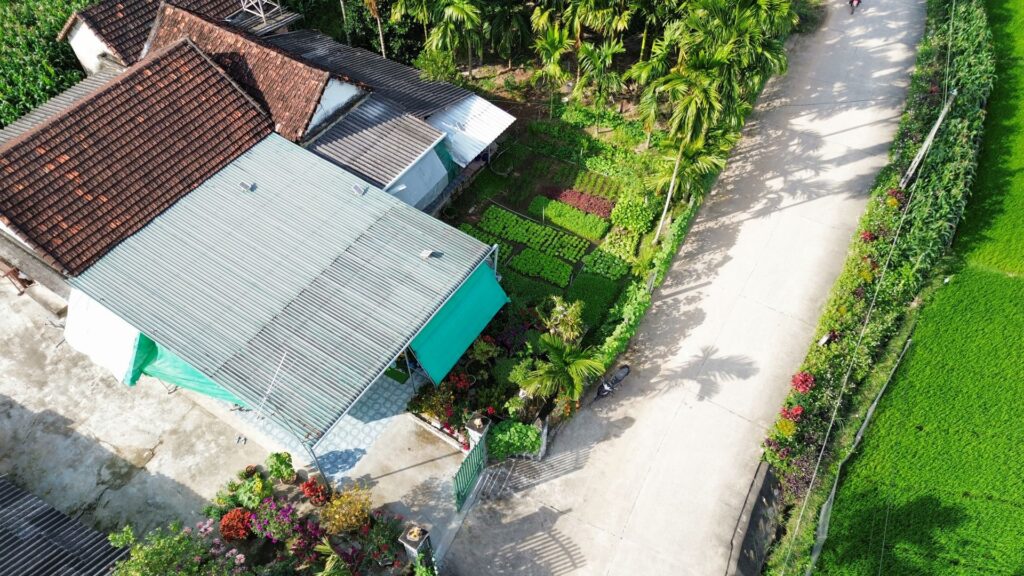
A real garden rarely has a completely open, unobstructed footprint. Trees, garden sheds, ponds, stepping stone paths, and raised bed structures all take up space that does not need material coverage.
After calculating the total garden area, it is important to subtract the area of any obstacles that do not need soil, mulch, or seed coverage.
Measure each obstacle as its own simple shape. A circular tree base with a radius of 2 feet covers approximately 12.6 square feet that should be removed from the total calculation. A garden shed measuring 6 feet by 8 feet takes up 48 square feet that similarly does not need coverage.
Overlooking this step is one of the most common mistakes gardeners make, and it leads directly to over-ordering materials. Subtracting obstacle areas always results in a more accurate and cost-effective final measurement.
Using a Digital Tool to Check the Work
After taking manual measurements and calculating area by hand, using a digital tool to verify the results is a genuinely smart move. The Garden Area Calculator is a helpful resource that allows gardeners to input their dimensions and quickly confirm their area calculations, reducing the chance of a math error derailing the project.
Digital calculators like this one are especially useful when working with odd-shaped areas or multiple combined sections, where the manual math gets more complex. Punching in the numbers takes only a minute and adds a useful layer of confidence before placing a materials order.
Converting Between Measurement Units
Different projects and different material suppliers use different units of measurement. Understanding how to convert between units prevents confusion when placing orders.
Here are the most common conversions that gardeners need:
- 1 yard = 3 feet
- 1 square yard = 9 square feet
- 1 acre = 43,560 square feet
- 1 square meter = approximately 10.76 square feet
When ordering materials like mulch or gravel, most suppliers quote quantities by the cubic yard. To convert a square footage measurement into cubic yards, the depth of the material layer needs to be factored in. This is where accurate area measurements become the essential first step in a larger calculation chain.
Tips From Real Gardening Experience
Anyone who has spent significant time working in gardens and on landscaping projects picks up a few practical tips that do not always make it into formal guides. Here are some of the most useful ones:
Measure at least twice. This is not just an old cliché. In practice, walking the same line twice and getting the same number both times builds confidence that the measurement is right.
Work in one unit consistently. Mixing feet and inches mid-calculation leads to errors. Pick one unit — feet work well for most garden projects — and stick to it throughout.
Round up slightly on material orders. Even with accurate measurements, a small buffer of 5 to 10% on material quantities protects against waste from cutting, settling, or uneven depth. Most experienced gardeners build this buffer in automatically.
Re-measure after making changes. If garden borders shift during bed preparation or edging, re-measure before finalizing material orders. Shapes change during the digging and shaping process, and it is better to catch that before ordering.
Photograph the measuring process. Taking a quick phone photo of the sketch with measurements written in is a useful backup. It creates a permanent record that makes it easy to recheck numbers later without having to go back outside.
Common Mistakes to Avoid
Even careful gardeners make certain measurement mistakes repeatedly. Knowing what they are makes it much easier to avoid them.
The most common mistake is measuring only the inner edge of a garden border instead of the full planting area. Borders, edging strips, and decorative stones can add several inches to the true planting zone, and measuring only the inside misses that space.
Another frequent error is forgetting to account for slopes. A garden on a slope is slightly larger than its flat footprint. For gentle slopes, this difference is minor, but on steeper ground, the actual surface area can be notably larger than the horizontal measurement suggests.
A third common problem is assuming symmetry. Many gardeners assume their garden is a perfect rectangle when it is actually slightly trapezoidal — wider at one end than the other. Measuring both ends and both sides separately, rather than measuring one and doubling it, catches this issue.
Putting It All Together
Measuring a garden area correctly comes down to a clear, repeatable process. Sketch the space first, identify the shape or combination of shapes, take careful measurements, apply the right formula, subtract any obstacles, and then verify the results with a calculator tool.
The effort invested in accurate measurements at the start of any garden project pays off throughout the entire process. Material orders land closer to the actual need, plants get the right spacing, and the overall project moves forward with fewer delays and surprises.
Gardening is always a combination of art and science. The art is in the design, the plant choices, and the creative vision for the space. But the science — the measuring, the calculating, the planning — is what gives that vision a solid foundation to grow from. Getting the measurements right is how beautiful gardens get built on purpose, not just by luck.
With the right tools, a clear process, and a little patience, anyone can measure their garden area correctly the very first time.
Summary
- Identify the shape of your garden space before taking any measurements
- Rectangle/Square: Use length × width to calculate the total area
- Triangle: Use base × height ÷ 2 for the correct area
- Circle: Use π (3.14) × radius² to find the area
- Irregular shapes: Break the space into smaller simple shapes, calculate each separately, and add the totals together
- Curved borders: Trace the edge with string, pull it straight, and measure the total length
- Subtract the area of any obstacles like trees, sheds, or ponds from the total to get the accurate usable area
- Record all measurements in a notebook for faster planning on future projects
- Build in a buffer of 5 to 10% when ordering materials to account for waste and uneven coverage
- Always double-check calculations with a digital tool before placing any material orders
The Bigger Picture — Measurement as a Gardening Habit
One thing experienced gardeners come to appreciate over time is that measuring accurately is not a one-time task done at the start of a project. It becomes an ongoing habit. Gardens evolve. Beds get extended.
New sections get added. Trees grow and their root zones expand. A vegetable patch that was 100 square feet one year might grow to 160 square feet the next as the gardener gains confidence and appetite for growing more.
Keeping a simple notebook or a digital note on a phone with updated garden measurements makes every future project faster and easier. When a gardener already knows their raised bed is 4 feet by 8 feet, ordering a new batch of compost in spring takes minutes instead of requiring another measuring session.
This kind of organized record-keeping is a hallmark of experienced gardeners who manage their spaces efficiently year after year.
It is also worth noting that sharing accurate measurements with a nursery professional or landscaping supplier leads to much better advice. When a supplier knows the exact square footage of a space, they can recommend the right quantity of plants, the correct amount of ground cover, and the ideal depth of material for that specific area.
Guessing leads to generic advice. Precise measurements lead to precise recommendations. That is a difference that shows up clearly in the final result.
Measuring a garden correctly is one of the simplest ways to approach the whole hobby more professionally, and it is a skill that pays dividends every single season.
FAQs
How do I calculate the square footage of my garden?
To calculate the square footage of your garden, measure the length and width of the space in feet and multiply the two numbers together. For example, a garden that is 20 feet long and 10 feet wide has a total area of 200 square feet. For circular or irregular shapes, use the appropriate formula based on the shape of the space.
What is the easiest way to measure an irregular shaped garden?
The easiest way to measure an irregular shaped garden is to divide the space into smaller, simple shapes such as rectangles, triangles, or circles. Measure each section separately, calculate the area of each one using the correct formula, and then add all the totals together to get the full garden area.
How do I measure a curved garden border?
To measure a curved garden border, lay a piece of string along the entire curve, following its exact path. Once the string traces the full edge, pull it straight and measure the total length with a tape measure. This gives an accurate measurement of the curved perimeter without needing any special tools.
Do I need to subtract trees and sheds when measuring garden area?
Yes, it is important to subtract the area taken up by trees, sheds, ponds, and other obstacles when calculating usable garden area. Measure each obstacle as a simple shape, calculate its area, and subtract the total from your overall garden measurement. This prevents over-ordering materials and gives a more accurate picture of the actual planting or coverage space.
How much extra material should I order after measuring my garden?
After measuring your garden area, it is recommended to order an extra 5 to 10% of materials beyond the calculated amount. This buffer accounts for waste during application, uneven depth coverage, and any small measuring errors. Experienced gardeners build this buffer into every material order to avoid running short mid-project.