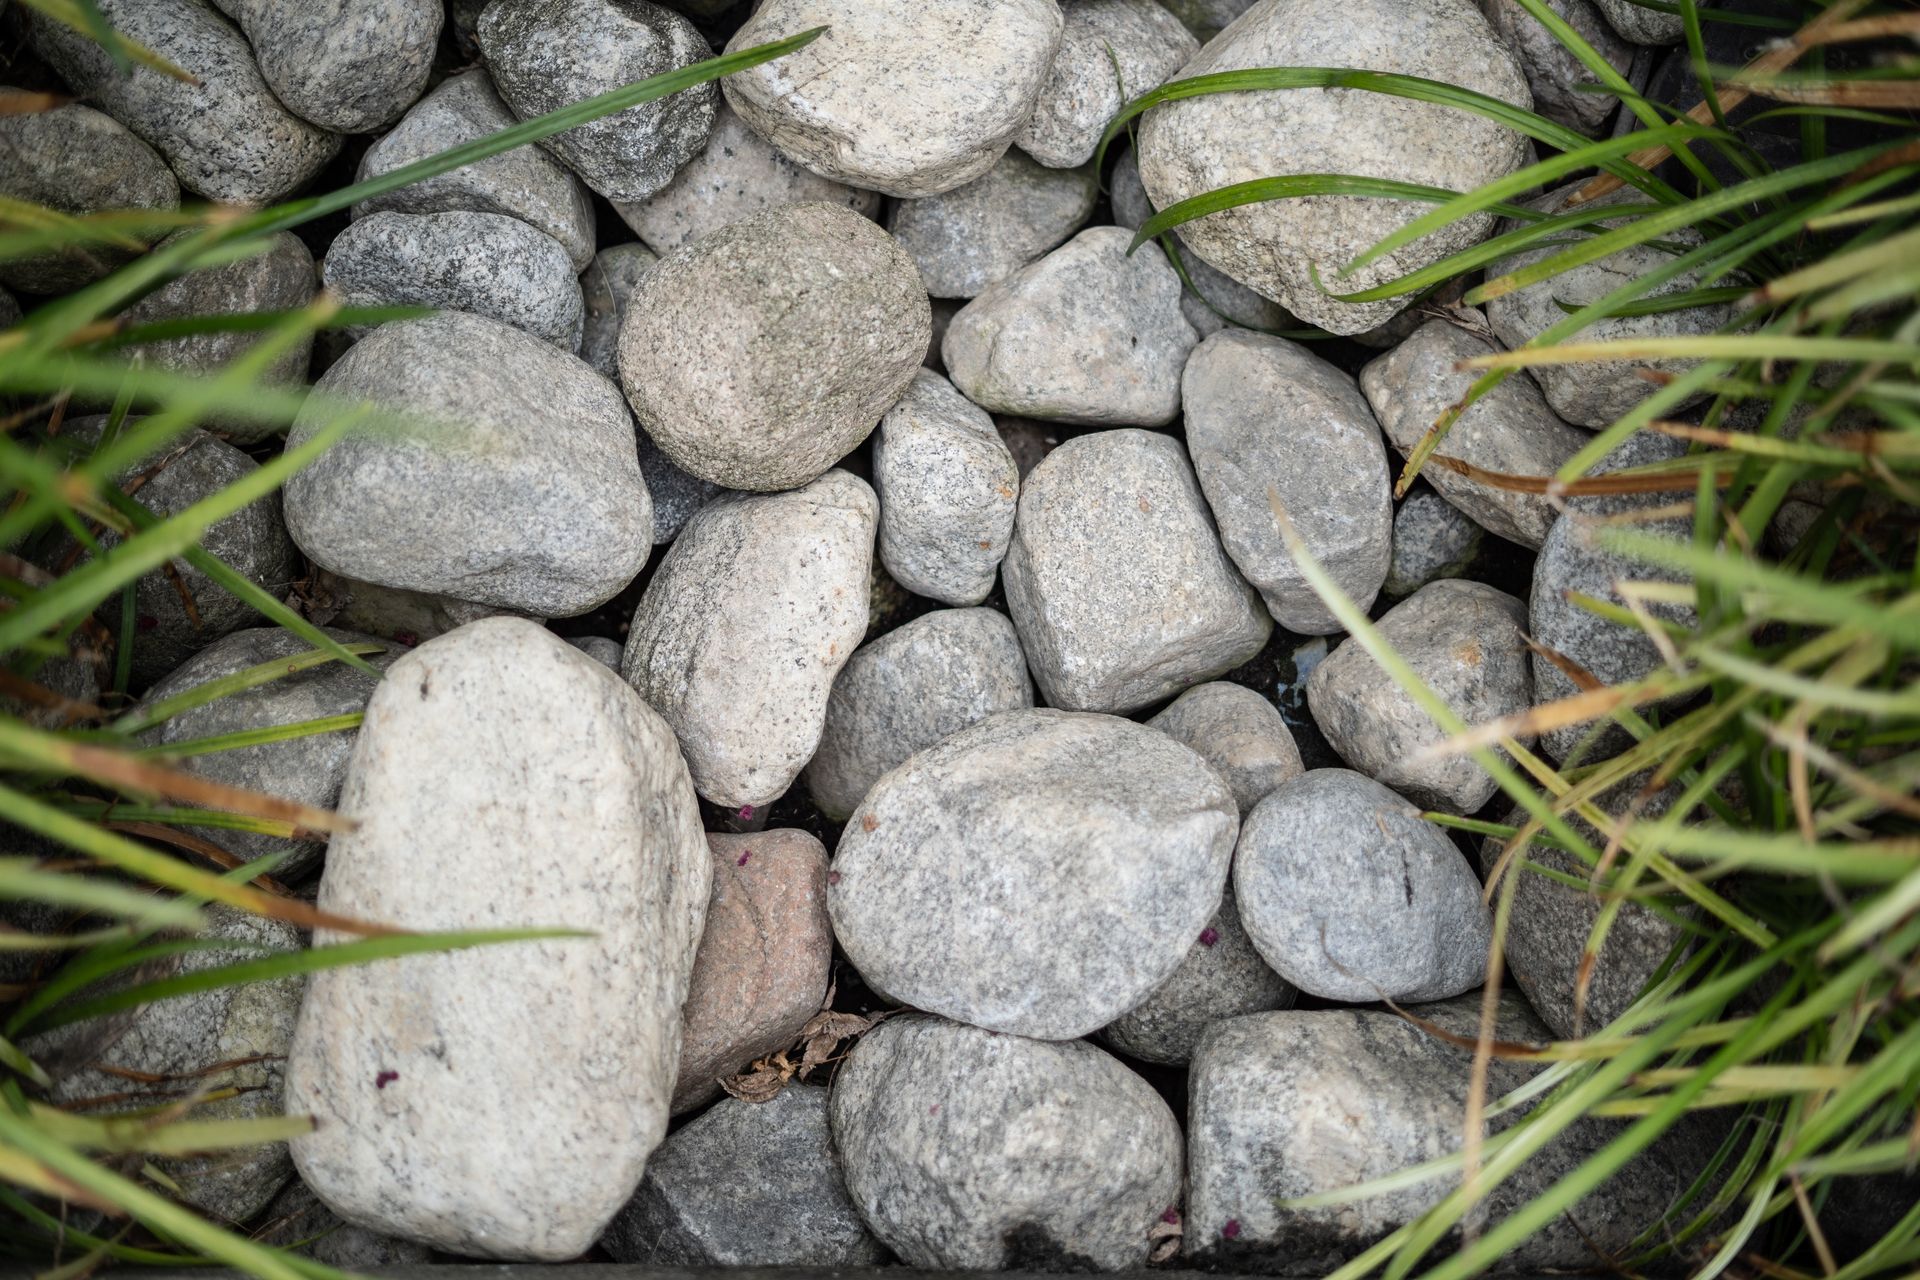
- Skipping the planning phase before buying rocks
- Choosing the wrong type of rock for the job
- Skipping the weed barrier or using the wrong one
- Miscalculating the amount of rock needed
- Not preparing the ground before installation
- Placing rocks too close to the home’s foundation
- Ignoring drainage needs
- Using rock when mulch would perform better
- Buying rocks without considering color and scale
- Neglecting long-term maintenance needs
- Overlooking the importance of edging
- Rushing the project and cutting corners
Many homeowners start their landscaping projects with the best intentions. They visit the local garden center, fall in love with a beautiful rock display, and head home excited to transform their outdoor space. Then, a few months later, reality hits. Weeds are poking through everywhere, the rocks have shifted into the wrong spots, water is pooling near the foundation, and the whole yard just looks… off.
This situation is far more common than most people realize. Experienced landscapers see it every single season. The good news is that most of these problems are completely avoidable. With the right knowledge and a little preparation, anyone can install landscaping rocks the smart way — the first time around.
This article breaks down the most common landscaping rock mistakes people make, why they happen, and exactly how to avoid them. Whether someone is a first-time homeowner tackling their front yard or an experienced gardener starting a new bed, this guide will help them get it right from day one.
1. Skipping the Planning Phase Entirely
One of the biggest mistakes people make is diving straight into buying and placing rocks without a clear plan. They eyeball the space, make a rough guess on quantities, and hope for the best. This approach almost always creates problems down the road.
Planning is the foundation of any successful landscaping project. Before buying a single bag or ton of rock, it helps to measure the space carefully, decide on the depth of coverage needed, and figure out what type of rock will work best for the specific area.
Skipping this step often leads to two painful outcomes: buying too little rock (which means making multiple expensive trips back to the supplier) or buying too much (which wastes money and leaves piles of leftover material sitting around for months).
A smarter approach is to use a reliable rock coverage to calculate exactly how much material is needed before placing any order. These tools take the guesswork out of the equation and save both time and money right from the start.
Pro tip: Always add about 10% more to any final quantity estimate. This small buffer accounts for uneven surfaces, compaction, and the inevitable spillage that happens during installation.
2. Choosing the Wrong Type of Rock for the Job
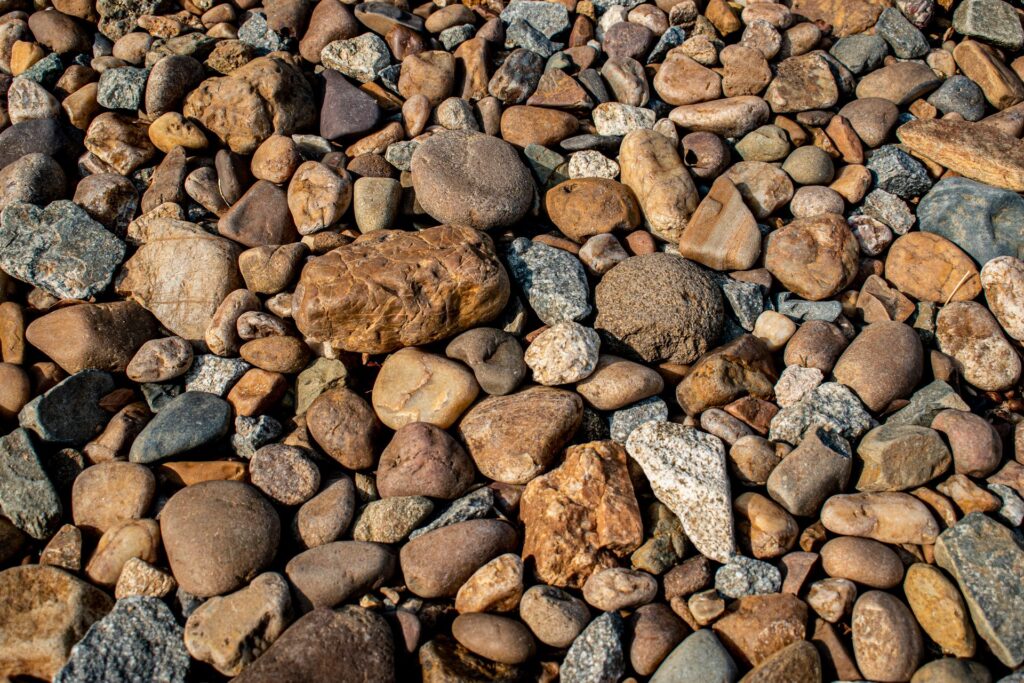
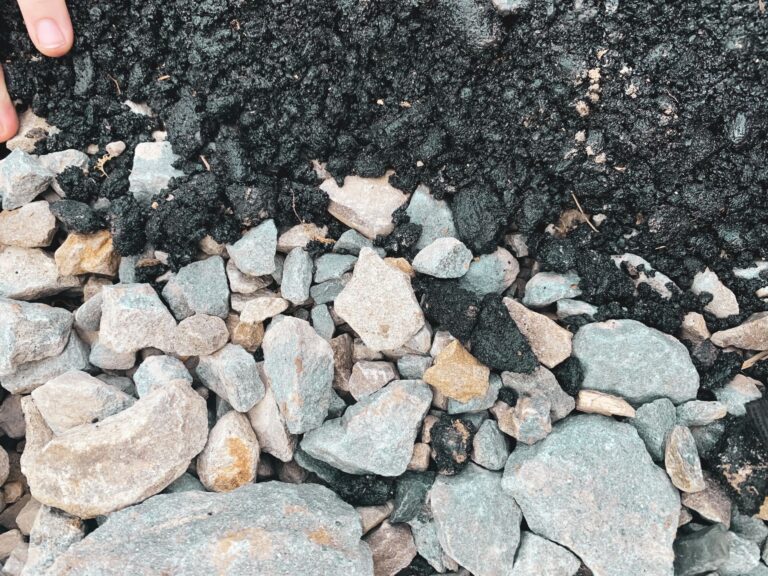
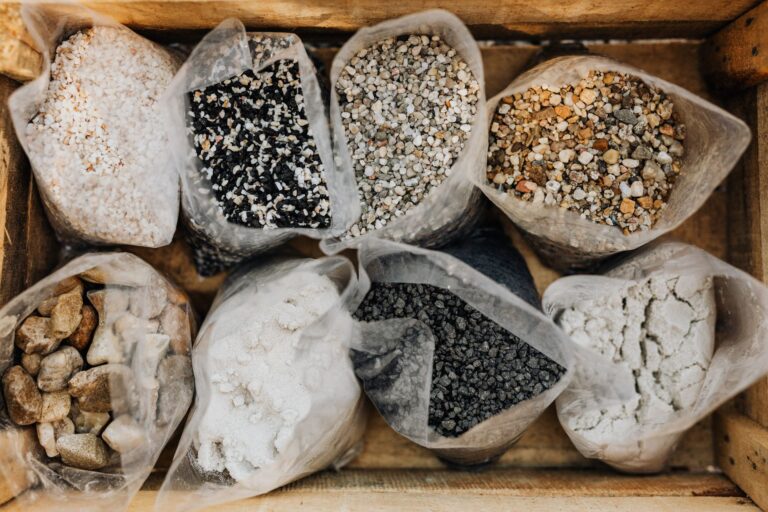
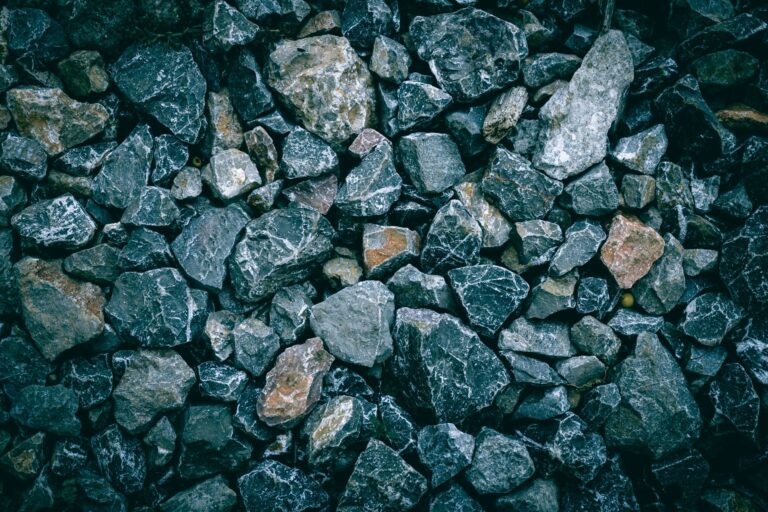
Not all rocks are created equal. Pea gravel, river rock, crushed granite, lava rock, decomposed granite, and crushed limestone all behave very differently in a landscape. Choosing the wrong one for a specific application is a mistake that costs people time, money, and frustration.
For example, pea gravel is smooth and attractive but it shifts easily underfoot. It is a poor choice for a high-traffic walkway. On the other hand, crushed stone locks together well and creates a more stable surface, making it ideal for pathways and driveways. River rock looks stunning in decorative beds and around water features but can become a weed nightmare if installed without proper ground prep.
Before selecting a rock type, people should ask themselves a few key questions: Is this area high-traffic or decorative? Does the space need drainage? Will plants be growing nearby? Is a uniform look important?
For a helpful breakdown of the most popular options, the rock comparison guide on Grow the Garden Calculator explains how pea gravel, river rock, and crushed stone compare side by side — covering drainage, appearance, cost, and ideal uses.
Choosing the right rock from the beginning saves a lot of regret later.
3. Skipping the Weed Barrier — or Using the Wrong One
This is one of the most common and costly mistakes of all. People skip the weed barrier entirely because they assume the rocks will block sunlight and prevent weed growth on their own. They do not. Weeds find a way. Seeds blow in from the wind, settle between rocks, and sprout with surprising determination.
The solution is to always install a quality landscape fabric beneath the rocks before placing a single stone. However, not all landscape fabrics are created equal either. Cheap plastic sheeting blocks drainage and causes water to pool. Thin, low-quality fabric tears easily and degrades within a season or two.
The right choice is a woven or non-woven geotextile landscape fabric that allows water and air to pass through while blocking light. This type suppresses weeds effectively without creating drainage problems.
Another mistake is failing to overlap the edges of the fabric properly. Seams should overlap by at least 6 inches to prevent weeds from sneaking through the gaps. Edges should be secured with landscape staples every 12 inches or so, especially around curves and corners.
Taking the time to install the weed barrier correctly pays dividends for years.
4. Miscalculating the Amount of Rock Needed
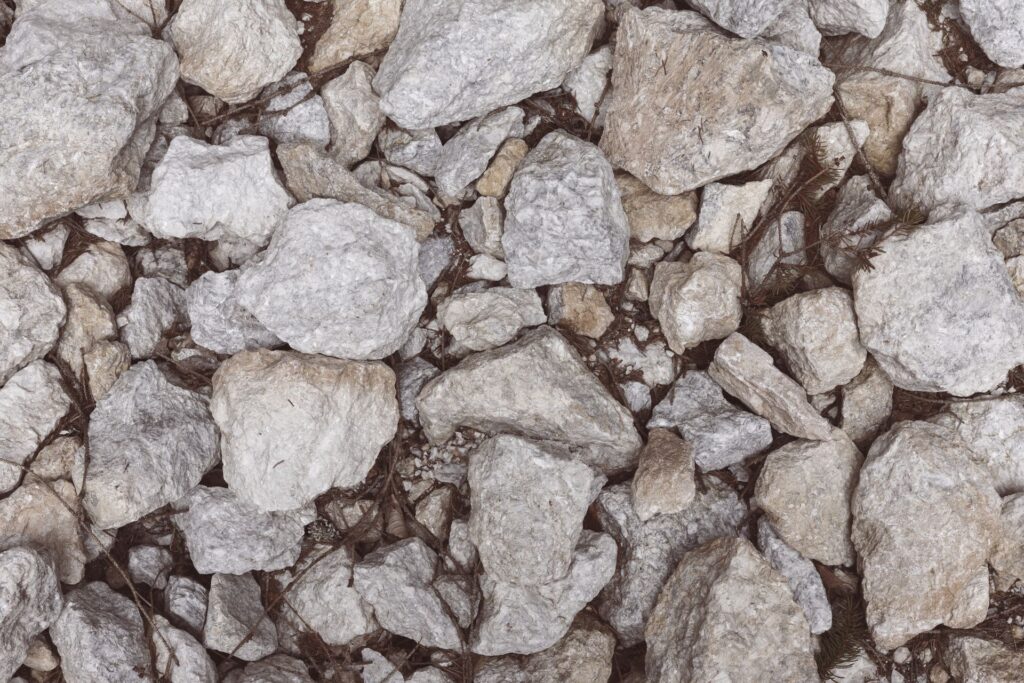
Quantity errors are extremely common — and they can be expensive in both directions. Buying too little means stopping mid-project, waiting for new deliveries, and risking that the second batch does not perfectly match the color or texture of the first. Buying too much means paying for materials that sit unused.
The confusion usually happens because people do not account for rock depth. A thin layer of rocks looks sparse, shifts around, and fails to suppress weeds effectively. The recommended depth for most decorative rock applications is 2 to 3 inches, and for areas with foot traffic, 3 to 4 inches is better.
Many people just eyeball the surface area and order whatever feels right. A much smarter approach is to calculate rock for the garden using a proper volume calculator that factors in both surface area and depth.
For anyone who wants to go one step further, the Garden Rock Calculator is a fantastic free tool that handles all the math automatically. Just plug in the dimensions and depth, and it spits out the exact quantity needed — whether in cubic yards, cubic feet, or tons.
Getting the quantity right before ordering eliminates stress and wasted spending.
5. Not Preparing the Ground Before Installing Rocks
Even with the best landscape fabric in the world, rock installations can fail if the ground underneath is not properly prepared first. This step gets skipped constantly — and the results are always regrettable.
Before laying fabric and rocks, the ground needs to be cleared, leveled, and compacted. Here is what proper ground preparation looks like:
- Remove all existing vegetation, including roots. Leaving roots behind means they will rot, creating uneven spots and soft areas over time.
- Grade the surface so it slopes gently away from any structures, including the home’s foundation. This ensures proper drainage.
- Compact the soil with a hand tamper or plate compactor, especially for walkways and driveways where stability matters.
- Edge the area with a physical border — metal edging, plastic edging, or stone borders — to keep rocks contained and prevent them from migrating into lawn areas.
Skipping any one of these steps creates problems that become obvious within the first season. Taking an extra day to prepare the ground properly is always worth it.
6. Placing Rocks Too Close to the Home’s Foundation
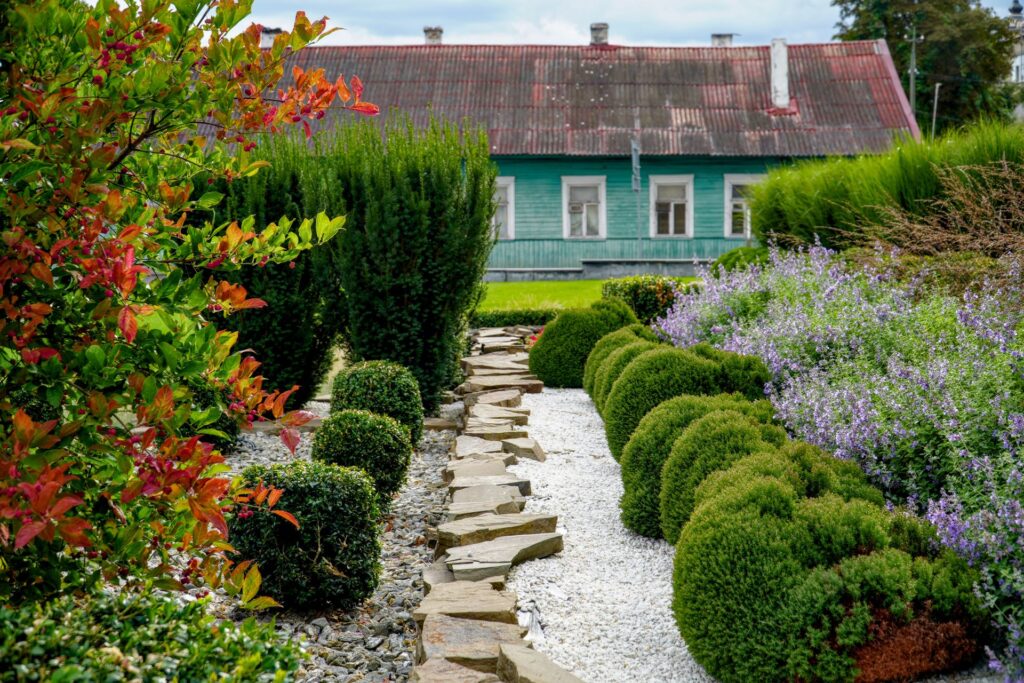
This mistake can cause serious structural damage over time and yet it happens in almost every neighborhood. People love the look of rocks right up against the house — it looks clean, modern, and low-maintenance. But rocks trap heat, hold moisture, and can funnel water directly toward the foundation.
Moisture is the enemy of any home’s foundation. When rocks are placed flush against a building, they create conditions where water collects and sits. Over weeks and months, this moisture seeps into the foundation, causes cracking, encourages mold growth, and can lead to very expensive repairs.
The safe rule of thumb is to leave at least 6 to 12 inches of clearance between rock beds and any structure. In this gap, it is better to use gravel or bare soil that slopes away from the building to direct water flow outward.
Additionally, rocks placed near a foundation create attractive hiding spots for rodents and insects, who love the warm, sheltered environment. Keeping rocks away from the structure eliminates this risk too.
7. Ignoring Drainage Needs
Poor drainage is one of the most destructive problems a landscape can face. When rocks are installed without considering how water moves through the space, the result is pooling, erosion, plant death, and even damage to nearby structures.
Some rocks — particularly smooth river rocks and flat stepping stones — do not allow water to pass through easily when layered densely. Crushed stone and pea gravel tend to drain better due to their angular or small-rounded shapes.
Before installing any rock, the natural drainage pattern of the yard should be assessed. Water should always flow away from the home, not toward it, and not pool in garden beds where plants can drown.
In areas with heavy clay soil that drains slowly, installing a French drain or drainage swale beneath the rock bed is a smart investment. Some people also use permeable base material like crushed limestone beneath decorative rocks to improve drainage further.
Understanding how water moves through the landscape before rocks go down prevents a lot of expensive problems.
8. Using Rock When Mulch Would Have Been the Better Choice
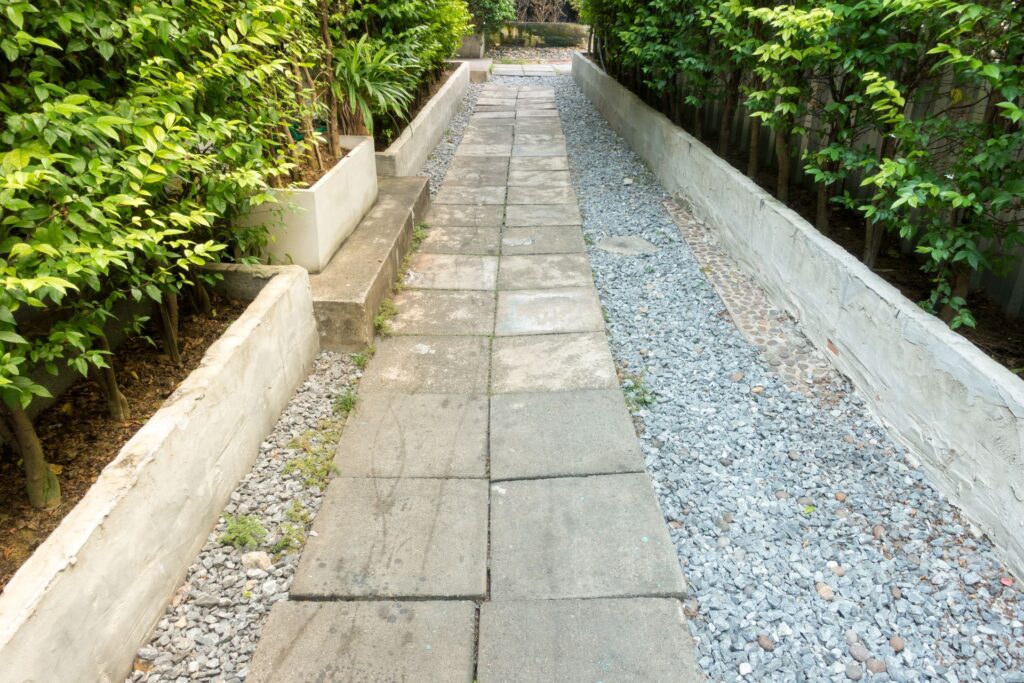
Rock and mulch both serve as ground cover materials, but they are not interchangeable. Using rocks in situations where mulch would have performed better is a mistake that many gardeners make — often because rock seems like a “permanent” solution and mulch seems like more work.
The reality is more nuanced. Rocks do not add organic matter to the soil. Over time, the soil beneath rock beds can become compacted and depleted of nutrients. This is devastating for plants that need nutrient-rich, biologically active soil to thrive.
Mulch, on the other hand, breaks down and enriches the soil, supports beneficial microorganisms, and regulates soil temperature more effectively than rock in most climates. For planting beds full of perennials, shrubs, and trees, mulch is almost always the better choice.
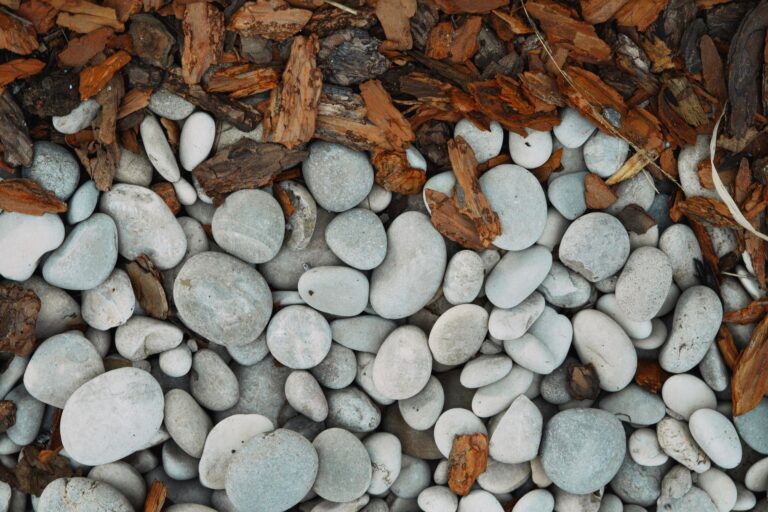
The mulch vs. rock guide does an excellent job of laying out when each material makes sense. Rock excels in xeriscaping, drainage beds, pathways, and areas with minimal plant life. Mulch excels in planting beds, vegetable gardens, and areas with established trees and shrubs.
Choosing the wrong material means fighting against the landscape instead of working with it.
9. Buying Rocks Without Considering Color and Scale
Aesthetic mistakes in landscaping are just as painful as practical ones — and they are surprisingly easy to make. Buying rocks without considering how their color, texture, and scale relate to the surrounding environment is a mistake that leaves yards looking awkward and unpolished.
Color matters enormously. Light-colored rocks like white marble chips or light granite can reflect heat and light in ways that harm nearby plants. In hot climates, this heat reflection can literally cook the vegetation. Darker rocks absorb heat, which may be beneficial in cooler climates but damaging in warm ones.
Scale is equally important. Small pea gravel in a large, open space looks underwhelming and gets lost. Large boulders in a tiny backyard can feel overwhelming. The rule of thumb is to match the scale of the rock to the scale of the space.
Texture variety makes a landscape look intentional and professional. Mixing smooth and rough textures, or combining different rock sizes, adds visual depth and keeps the eye moving through the space in a pleasing way.
Before committing to a large purchase, it always helps to request samples from the supplier or buy a small quantity first to see how the material looks in the actual space at different times of day.
10. Neglecting Long-Term Maintenance Needs
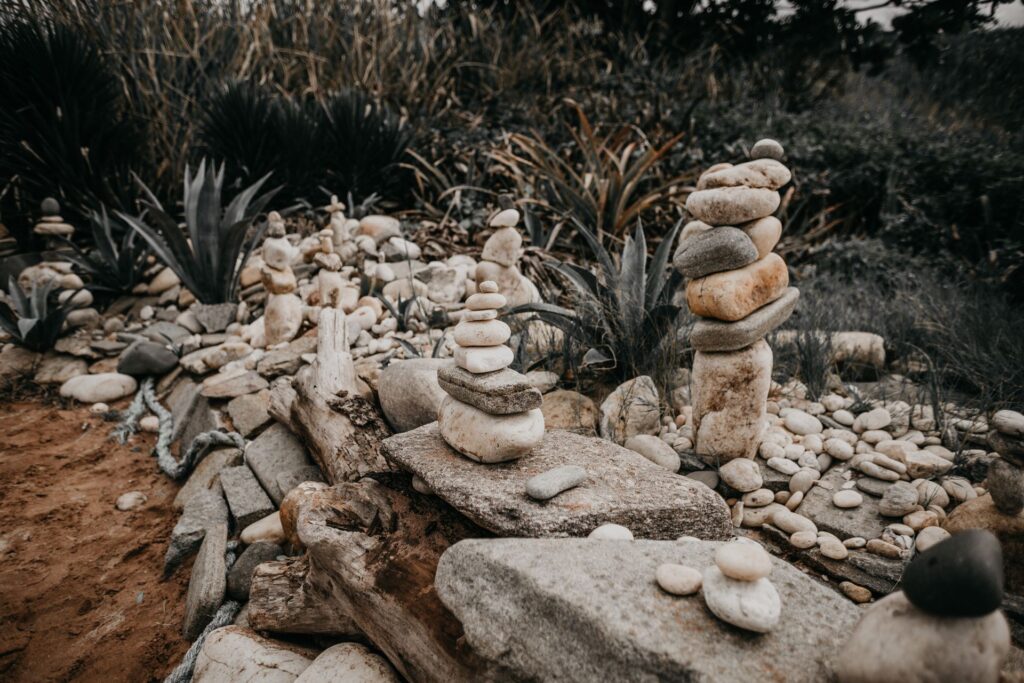
People often choose landscaping rocks because they believe it will be completely maintenance-free. This is one of the most persistent myths in landscaping. Rocks do require maintenance — it is just a different kind of maintenance than lawn or mulch.
Over time, organic debris like leaves, twigs, and soil particles accumulate between rocks. This organic matter breaks down and creates a perfect growing medium for weeds right on top of the landscape fabric. Without periodic cleaning, rock beds can become just as weedy as bare soil.
Blowing out rock beds with a leaf blower a few times per year removes most surface debris before it breaks down. For stubborn debris, a landscape rake works well to pull material out from between the rocks.
Additionally, rocks can sink and migrate over time, especially in areas with foot traffic, soil movement, or freeze-thaw cycles. Checking the depth each spring and adding a fresh layer of rock every two to three years keeps the bed looking neat and maintaining its weed-suppressing function.
Occasional spot treatment with a natural herbicide or hand-pulling is often needed to catch any weeds that do manage to break through. Addressing weeds while they are small prevents them from establishing deep root systems.
11. Overlooking the Importance of Edging
Without proper edging, rocks wander. They end up in the lawn, on the driveway, and scattered across the sidewalk. Edging seems like a minor detail, but it is actually one of the most important elements of a polished rock installation.
Physical edging creates a clear, defined border between rock areas and adjacent surfaces. The best options include:
- Steel or aluminum edging — durable, clean-looking, and holds curves well
- Plastic edging — affordable and flexible but less durable over time
- Natural stone borders — beautiful and permanent but more expensive to install
- Concrete curbing — the most permanent and low-maintenance option
Edging should be installed before the rocks go in, not after. It should be anchored firmly into the soil so it does not shift with temperature changes or foot traffic.
The time spent installing good edging at the beginning saves hours of cleanup and repositioning later.
12. Rushing the Project and Cutting Corners
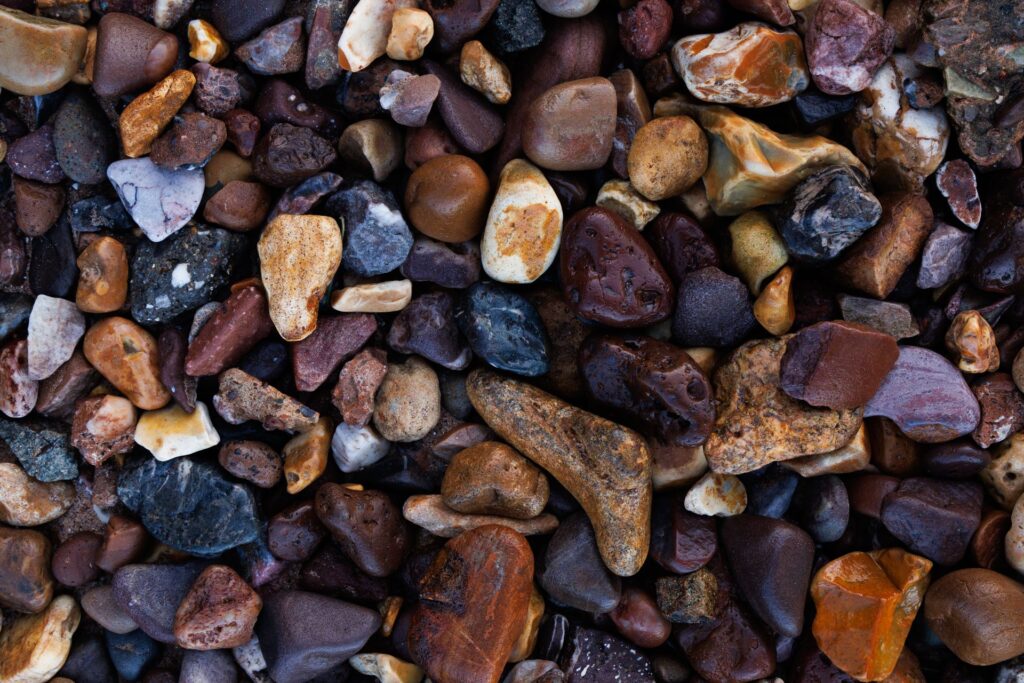
Finally, the mistake that ties all the others together: rushing. Landscaping projects have a way of feeling urgent once someone commits to them. People want the transformation to happen over a weekend, so they skip steps, cut corners, and get things done fast.
The result is almost always a landscape that looks great on day one and problematic by month three.
The most successful rock installations happen when each step is done deliberately and in the right order: proper planning, accurate quantity calculation, ground preparation, weed barrier installation, edging, and finally the rocks themselves. Skipping any step in this sequence creates a weak link in the chain.
A project done right the first time saves the cost, time, and frustration of redoing it a year or two later. Experienced landscapers will say the same thing every time: slow down, plan well, and do the prep work.
Summary
- Always plan the project and calculate the exact quantity of rock needed before buying
- Choose the right rock type for the specific area — pea gravel, river rock, and crushed stone all serve different purposes
- Never skip the weed barrier — use quality geotextile landscape fabric and overlap seams by at least 6 inches
- Always measure depth accurately — most decorative rock beds need 2 to 3 inches of coverage
- Prepare the ground properly by clearing vegetation, grading, and compacting before laying any rocks
- Keep rocks at least 6 to 12 inches away from the home’s foundation to avoid moisture damage
- Always assess drainage patterns before installation to prevent pooling and erosion
- Use mulch instead of rock in planting beds where soil nutrients matter
- Match rock color, texture, and scale to the surrounding landscape for a polished look
- Clean rock beds regularly with a leaf blower or landscape rake to prevent debris buildup and weed growth
- Install proper edging before placing rocks to keep them contained and looking neat
- Never rush — take the time to follow every step in the correct order for a lasting result
Final Thoughts
Landscaping rocks are one of the most versatile and attractive materials available for outdoor spaces. When used correctly, they transform yards into beautiful, low-maintenance landscapes that look great for decades. When used incorrectly, they create headaches that keep coming back season after season.
The good news is that every single mistake on this list is avoidable. With a solid plan, the right materials, accurate quantity estimates, and proper installation techniques, anyone can achieve the rock landscape of their dreams. The difference between a rock bed that thrives and one that becomes a maintenance nightmare often comes down to the decisions made in the first hour of planning.
Take the time to plan it right. The rocks will reward that effort for years to come.
FAQs
What is the most common mistake when using landscaping rocks?
The most common mistake is skipping the weed barrier before placing rocks. Without quality geotextile landscape fabric, weeds push through within weeks, making the entire installation look untidy and difficult to maintain.
How deep should landscaping rocks be to prevent weeds?
Landscaping rocks should be at least 2 to 3 inches deep for decorative beds and 3 to 4 inches deep for high-traffic areas. A proper depth combined with a quality weed barrier gives the best long-term weed suppression results.
Should rocks be placed against the house foundation?
No. Rocks should never be placed flush against the foundation. Always leave at least 6 to 12 inches of clearance to prevent moisture buildup, mold growth, and long-term structural damage to the home.
Is landscaping rock better than mulch for garden beds?
It depends on the application. Rock works best in pathways, drainage areas, and xeriscaping. Mulch is better for planting beds and areas with trees and shrubs because it breaks down and adds nutrients back into the soil that plants need to thrive.
How do I calculate how much landscaping rock I need?
Measure the length and width of the area, then multiply by the desired depth — typically 2 to 3 inches. Convert the result into cubic yards or tons depending on how the supplier sells the material. Using an online rock calculator makes this process quick and accurate.